Do you want to convert JPG to WebP in WordPress? If you are looking for a step-by-step guide, keep reading this post. Here, we will show you how to complete the task without hassle.
You might deal with many images while running a WordPress website or WooCommerce store. Pictures are mandatory for every website. You could use them while writing an article, on the sidebar, or in the header/footer area.
By default, you will upload images directly to the website and embed them, right?
But is there any better way?
Instead of embedding JPG or PNG images on your website, you can convert those images to the WebP format and then use them on the website. Compared to the traditional image formats, WebP image formats have many more advantages.
If you need to learn more about WebP images and how to convert JPG to WebP in WordPress, keep reading this article. Here, we will show you everything you need to know about the topic.
First, let’s see why convert JPG to WebP in WordPress.
Why Convert JPG to WebP in WordPress
You should convert JPG to WebP in WordPress mainly because of the performance enhancement. WebP is one of the modern image formats, and it can serve images faster without any hassle. Apart from that, the image’s file size will be much smaller, and there won’t be any compromise in the quality.
Since WebP image consumes less storage space and bandwidth, you can reduce the required storage space and bandwidth consumption. Since most browsers like Google Chrome and Safari support WebP format images, the images will always be served to the visitors without issues.
Apart from the advantages we mentioned above, WebP images are also future-proof. Since technology evolves daily, you can stay updated with web technologies using WebP images.
Now you know why converting existing image formats to WebP is a good idea. Next, let’s see how to deal with the image conversion.
How to Convert JPS to WebP in WordPress
There are two ways you can complete the task.
- Manually (without using a WordPress plugin)
- Using a plugin
We will show you both methods below. Based on your preferences, you can choose an option.
1. Manual Method
If you don’t want to use third-party plugins on your website but need to convert PNG images to WebP, use this method. You can see a lot of free online WebP image converts online. Some of the popular ones are:
And so on.
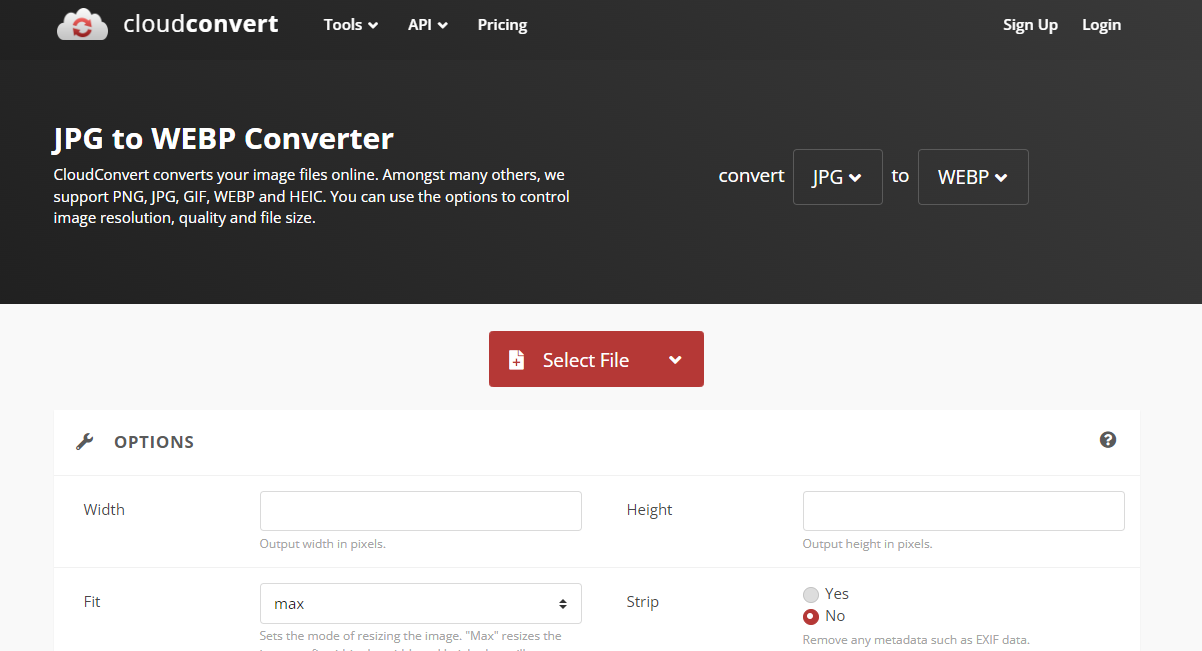
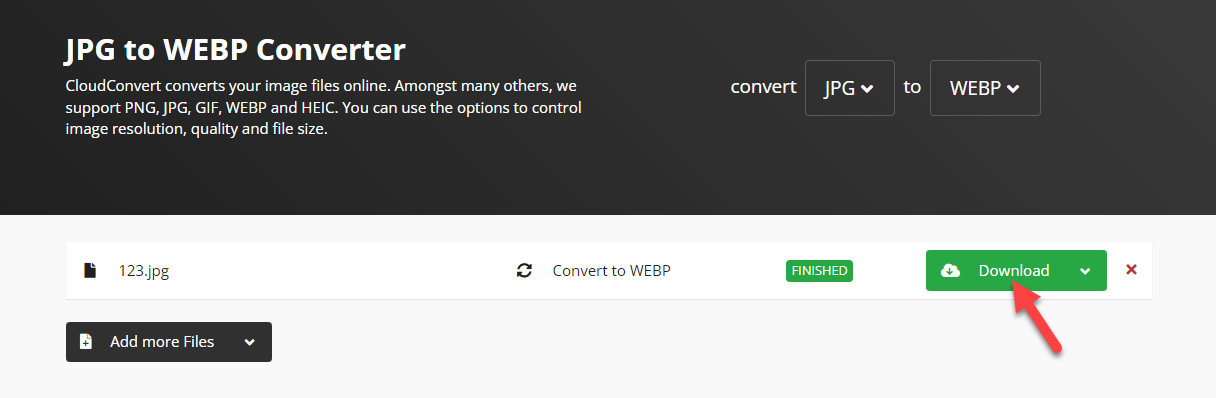
Here, we will use Cloud Convert. The tool is so easy to use and comes with minimal configuration options. The first thing you need to do is go to Cloud Convert’s JPG to WebP converter.
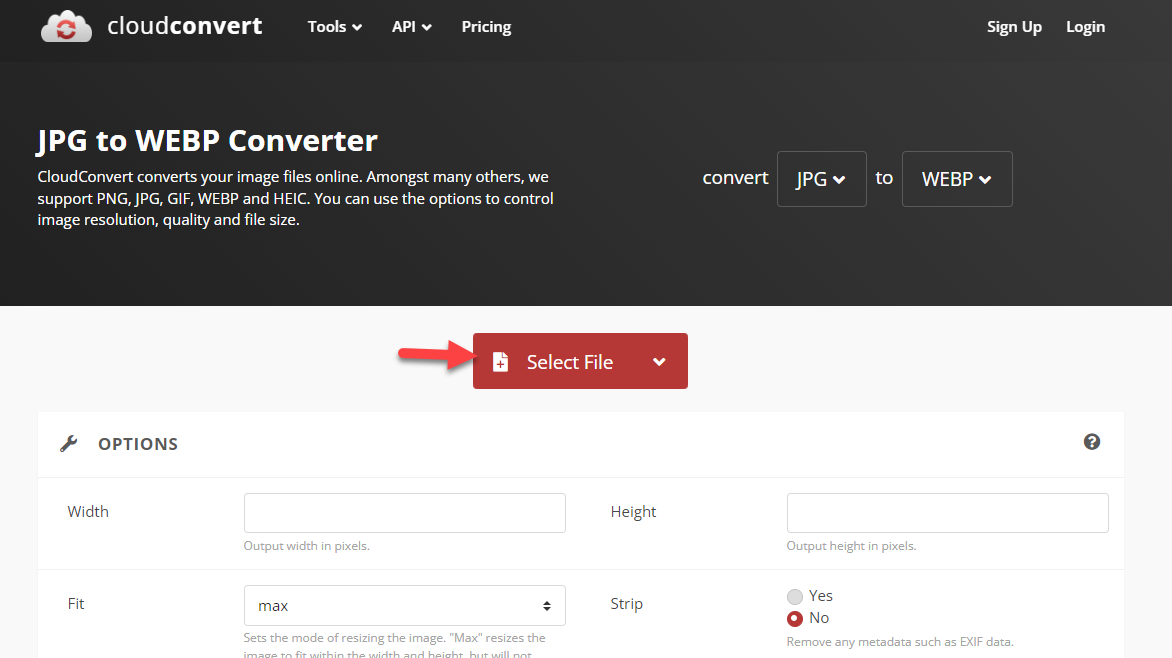
If you have an image in your local storage, click the Select File button and upload it to the tool.
After selecting the images, click on convert.
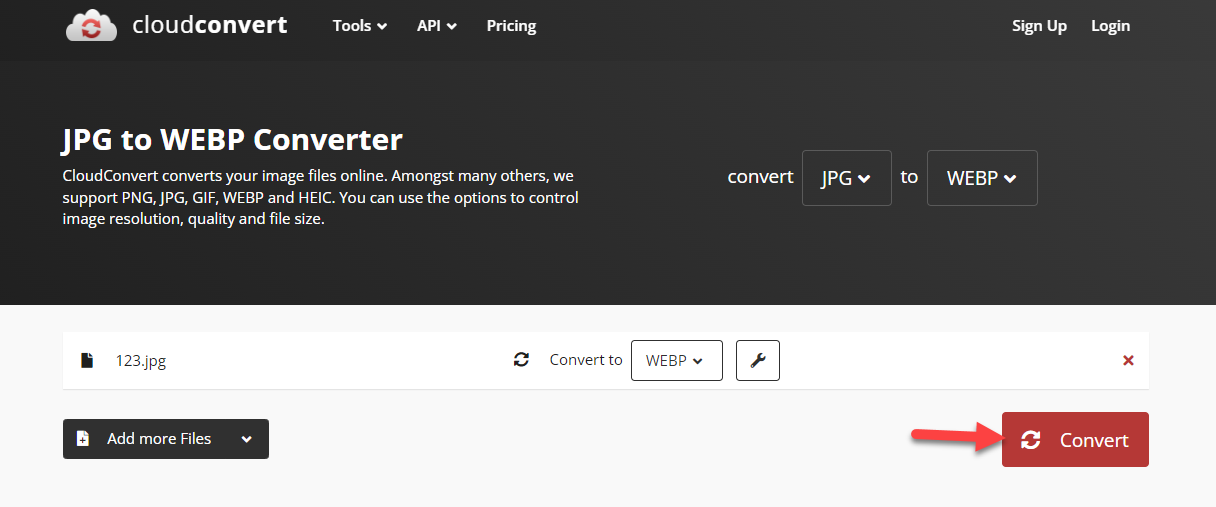
The platform will take a few seconds to complete the conversion. Once the process is finished, you can download the WebP version of the images from the page.
This way, you can convert JPG to WebP in WordPress. You won’t be limited to how many WebP images you can upload to the website. You can also cone multiple image formats like:
- PNG
- JPEG
- PS
- PSD
- RAW
- RAF
And so on.
On top of that, if you do not need to use a third-party hosted tool for the purpose but need a plugin, move to the next section.
There, we will explain how to convert JPG to WebP in WordPress using a dedicated WordPress plugin.
2. Plugin Method
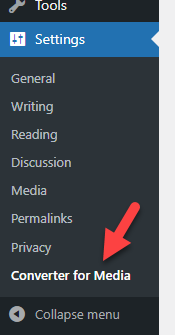
If you need a simple method, keep reading this section. There are several plugins available for the JPG to WebP conversion. For this tutorial, we will use the Converter for Media plugin. The first thing you need to do is install and activate the plugin on your website.
Once you have completed the activation, you can see the plugin’s settings under WordPress settings.
The plugin comes with many configuration options. With it, you can
- Optimize the images
- Change the image output format
- Exclude/include directories
- Enable automatic image conversion
- Customize the maximum image size
And so on. We will use the changing the output format option from the features list.
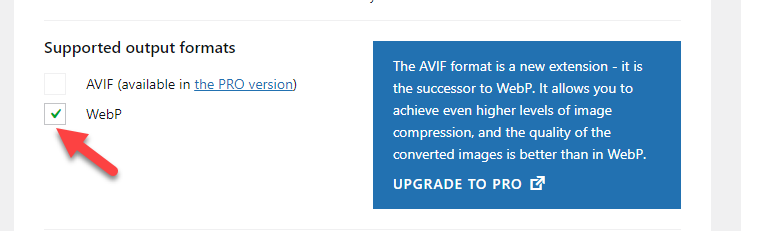
You can convert every image to the WebP format using the free version plugin. On the other hand, if you have the plugin’s premium version, you can take a step further and convert all images to the AVIF format.
Save the plugin’s settings once you have selected WebP from the list. Now, it is time to check the changes and ensure everything is working fine. You can check any image from the front end and verify you have successfully modified the file format.
That’s it!
This is how you can convert JPG to WebP in WordPress using a plugin.
Testing the Speed Difference
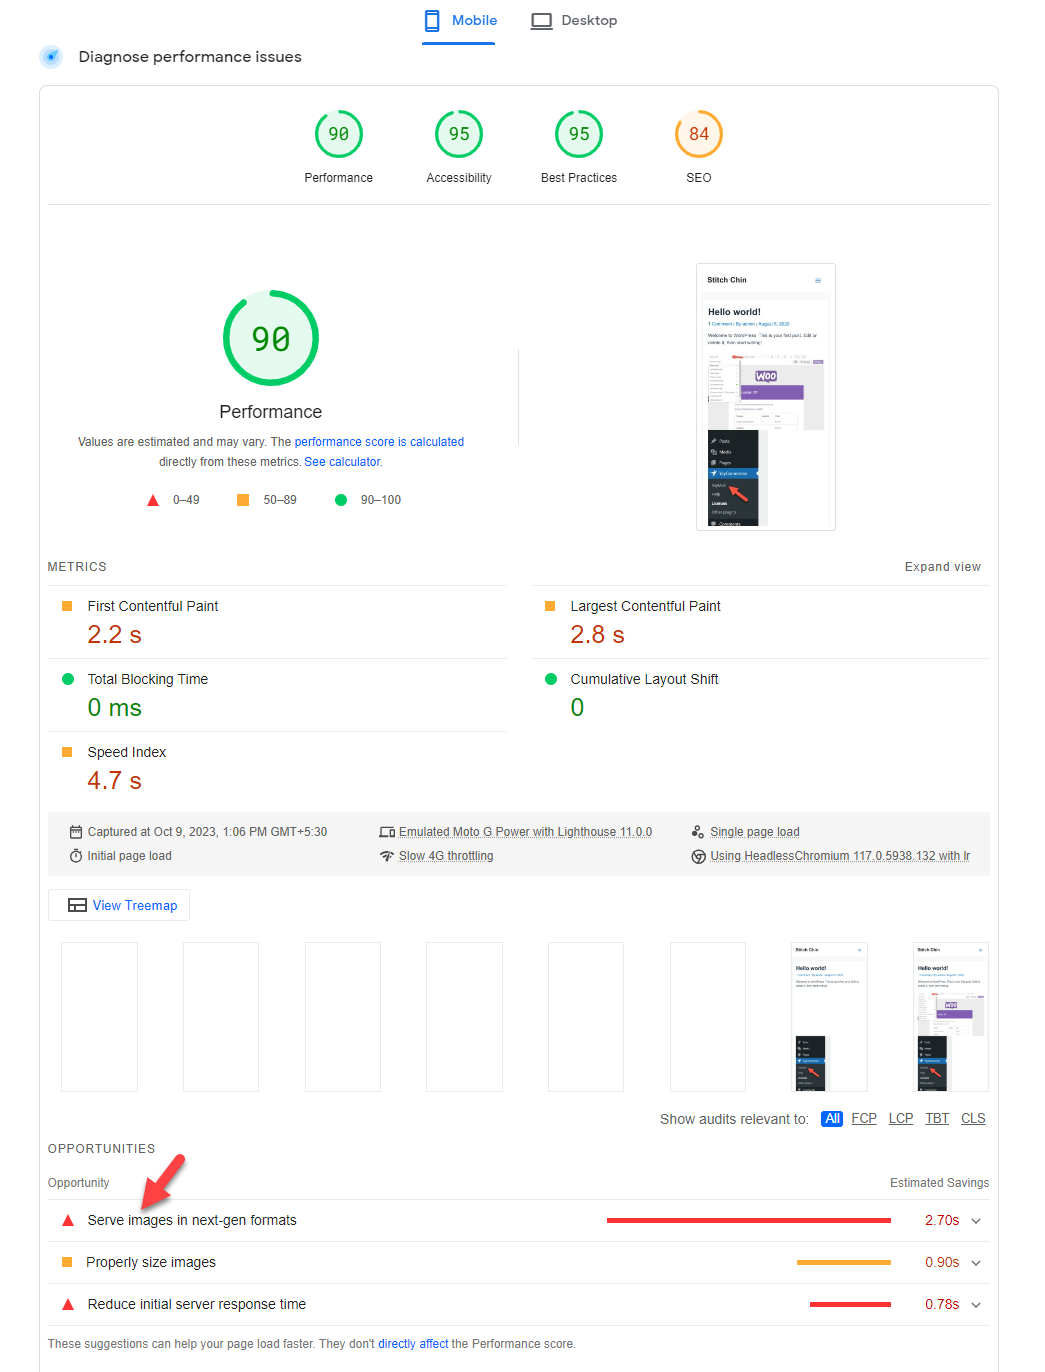
Once you have completed the process, it is mandatory to check the improvements in the performance. In our case, we have created a sample post and added a few images. For the speed test, we will use Google’s Page Speed insights.
Here’s the before result:
And here is the after result:
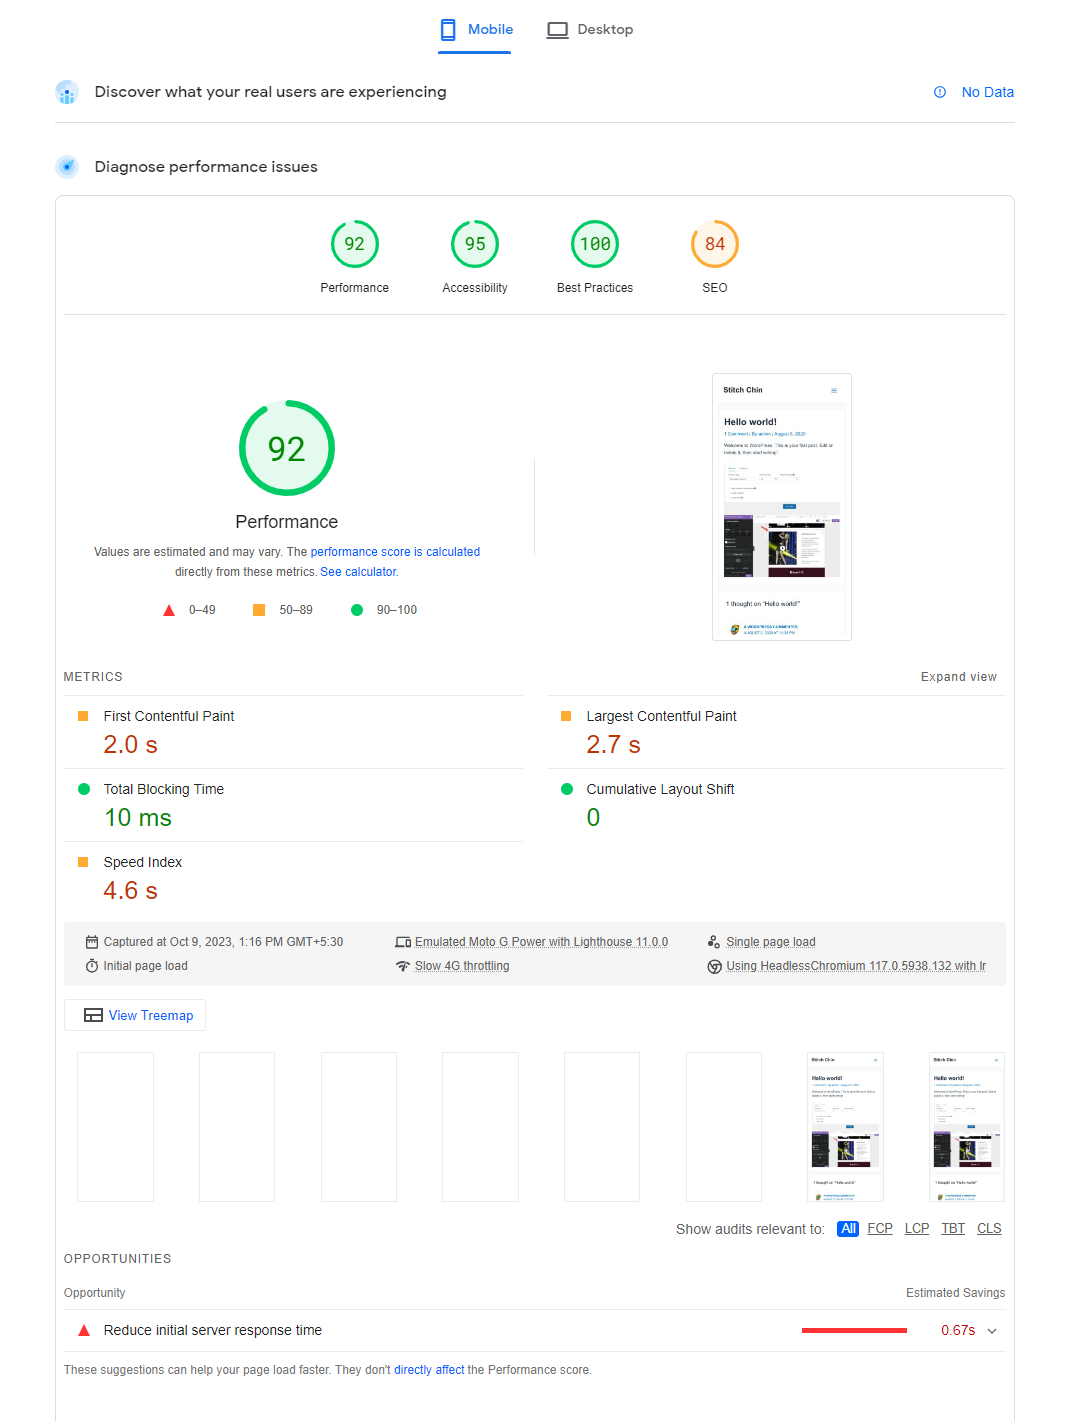
As you can see in the screenshot, converting JPG/PNG to WebP improves the website’s speed. We can score better on the speed test using a lightweight theme and other performance optimization tactics like compressing the images, enabling lazy load, etc.
Tips for Using WebP
Here are some tips you can use while playing with WebP:
- Use a Reliable Converter Plugin: Choose a trusted WordPress plugin to convert images like JPG and PNG to WebP. Plugins like Converter for Media, EWWW Image Optimizer, or WebP Express handle conversion without breaking image links or affecting design.
- Keep Original Images as Backup: Many JPG to WebP WordPress plugin tools allow you to keep the original files. This is useful if you ever need to revert or regenerate images.
- Enable WebP for All Image Formats: Don’t limit WebP only to JPG files. Convert PNG and even GIFs to take full advantage of faster loading across all media.
- Check Browser Compatibility: Most modern browsers support WebP, but not all do. To ensure a smooth user experience, use a plugin that serves fallback images for unsupported browsers.
- Optimize Before Conversion: Compress or resize your JPG or PNG images before converting them. This ensures the resulting WebP files are even smaller and optimized for web use.
- Test Image Display Across Devices: After implementing a WordPress plugin to convert JPG to WebP, preview your site on desktop and mobile to confirm that images render correctly.
Pros and Cons of WebP
In this section, we will show you the pros and cons of the WebP image versions.
Pros of WebP
- Smaller File Sizes: WebP images are significantly smaller than JPEG and PNG, which helps improve website loading speed.
- Better Compression: Supports both lossy and lossless compression while maintaining good image quality.
- Improved SEO: Faster load times lead to better Core Web Vitals and improved search engine rankings.
- Supports Transparency: Like PNG, WebP supports alpha transparency, making it ideal for logos and overlays.
Cons of WebP
- Compatibility Issues with Older Browsers: Some outdated browsers and systems may not support WebP, requiring fallback images.
- Not Supported by All Editors or Plugins: Some WordPress themes, plugins, or editors might not fully support WebP without extra configuration.
- Conversion Step Required: You must convert existing images to WebP, which requires plugins or manual tools.
Frequently Asked Questions
Now, we will look at some frequently asked questions regarding this topic.
Several plugins can convert images automatically, but some top choices include Converter for Media, Imagify, ShortPixel, and EWWW Image Optimizer. These tools offer built-in JPG to WebP WordPress plugin functionality with easy setup.
You can use a WordPress plugin, such as Converter for Media, to convert JPG to WebP. ShortPixel or WebP Express. These plugins scan your media library and automatically convert existing images to WebP format.
No, most WordPress JPG to WebP conversion plugins use lossy or lossless compression based on your settings, maintaining high visual quality while reducing file size.
Yes, some JPG to WebP converter WordPress plugins like Converter for Media, WebP Express or Converter for Media offer free versions that support basic WebP conversion features.
Not at all. Most WordPress plugins that convert JPG to WebP come with simple user interfaces. You can configure them in a few clicks without writing any code.
Absolutely. Converting heavy JPG files to lightweight WebP format significantly reduces page load times, especially when using a reliable WordPress JPG to WebP converter.
Yes. Most JPG to WebP converter WordPress plugins allow you to exclude specific files, folders, or image types from being converted via custom rules or settings.
Conclusion
If you need to optimize your WordPress website or WooCommerce store’s speed, apart from choosing a good hosting provider and a lightweight theme, you must focus on optimizing the images.
By default, using any WordPress image optimization plugin like BJ Lazy Load, you can enable lazy loading for your images and serve them more efficiently. However, studies showed that WebP version images will help optimize the website’s speed further.
In this article, we have shown you two methods to convert your existing images to WebP. The first method uses any online tools available, and the second one uses a dedicated WordPress plugin.
Use the first method if you do not need extra tools. On the other hand, if you need to automate the job, use the plugin method.
Which method are you going to pick?
Manual method or plugin method?
Let us know in the comments!