Do you want to set up log in with Google on your WordPress website? If so, read this post for a step-by-step guide.
There’s a traditional method for logging in to your WordPress website as an administrator or a user. You can log in using a username and password. It takes no time, but you must create the account first or enter it every time you log out.
Is there any better way to simplify the WordPress login process?
It turns out there is a simple way—with the help of Google’s login options. Keep reading this post if you want to add a Google login to your website. We will show you how to implement this feature with a simple plugin.
But before going further, let’s examine why you should set up a Google login on your WordPress website.
Why You Should Set Up Log in With Google
Setting up a log in with Google for your WordPress site offers several benefits that can enhance user experience and site security. Here’s why it’s a good idea:
- Simplified User Experience: By allowing users to log in with their Google accounts, you eliminate the need to create and remember other login credentials. This can significantly reduce login friction, leading to higher user satisfaction and potentially increased engagement with your site.
- Enhanced Security: Google has robust security measures to protect user accounts. When users log in with their Google accounts, they benefit from these security features, including two-factor authentication and advanced phishing protection. This can reduce the risk of unauthorized access to user accounts on your site.
- Reduced Spam: You can also reduce spam on your site using Google’s authentication system. Google’s system is designed to detect and prevent spam accounts, which can help keep your site clean and focused on genuine user engagement.
- Future-Proofing: These updates will automatically benefit your site as Google improves its security and user experience. This can save you the time and effort updating your site’s login system to keep up with the latest security standards.
Now you know why you should set up a log in with Google. Next, you will learn how to add the feature to your WordPress website.
How to Set Up Log in With Google on WordPress
Since WordPress doesn’t come with this feature, we need to use a third-party plugin. The plugin we are going to use is Nextend Social Login and Register.
The first thing you need to do is install and activate the plugin on your website.
Plugin Configuration
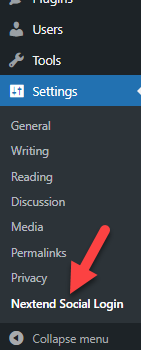
Once you have completed the activation, you can see the plugin’s settings under the WordPress settings.
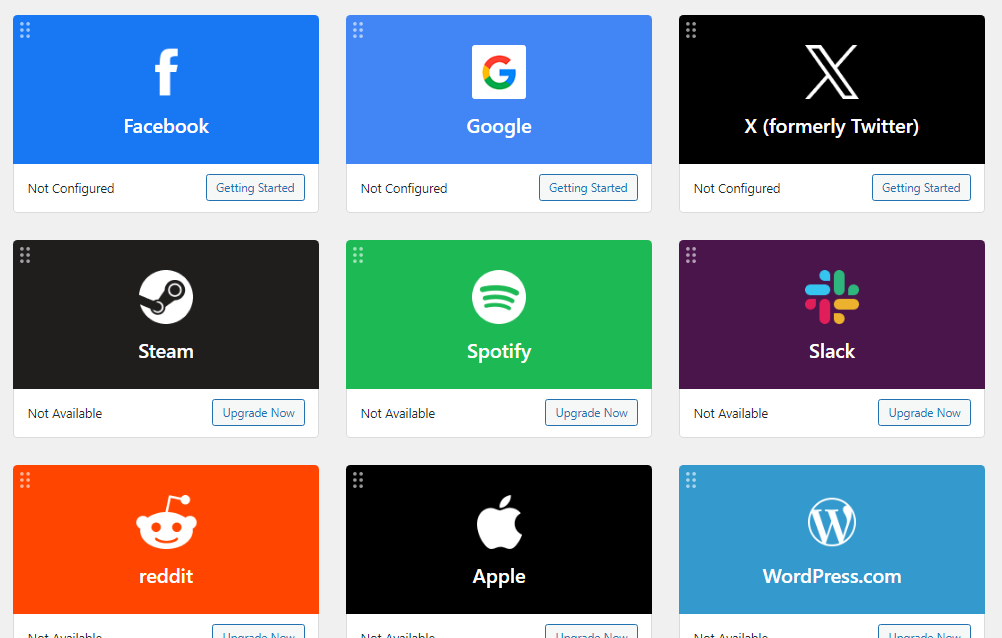
Besides Google, you can connect multiple social media platforms like:
- X, formerly known as Twitter
- Steam
- Spotify
- Slack
- Apple
- WordPress.com
And so on.
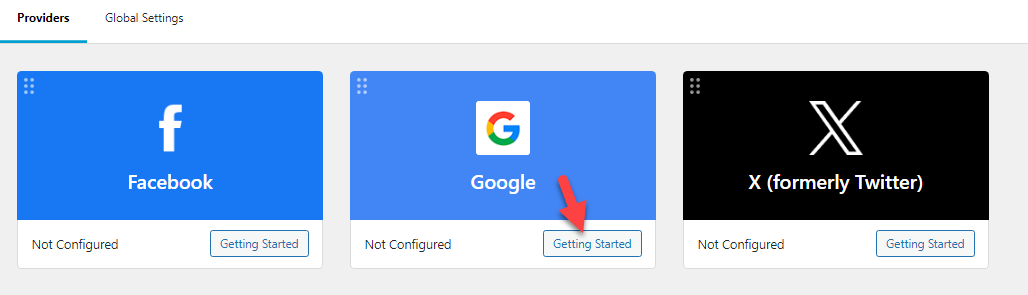
This tutorial will connect the Google account with the WordPress platform. To do so, click the Getting Started button.
Now, you will see a detailed guide on how to set up the app.
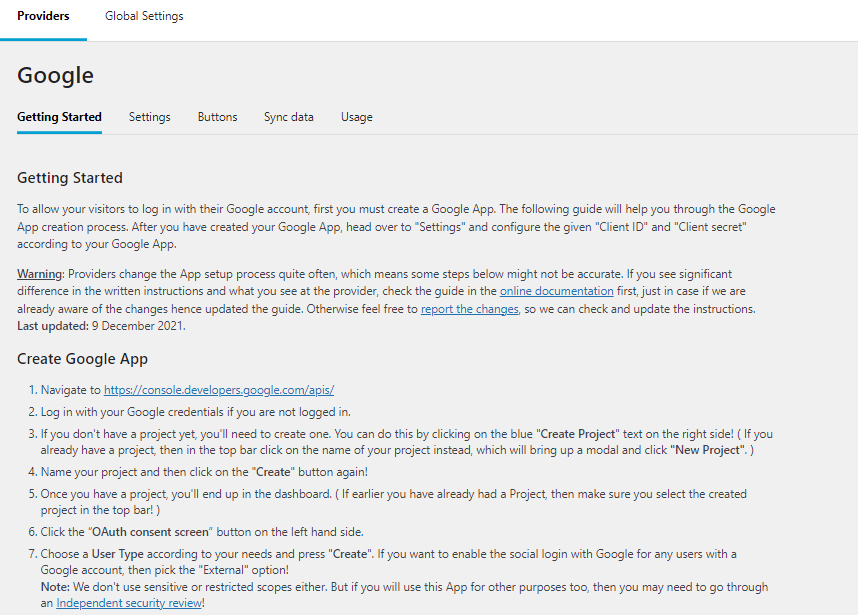
You do not need to go through that. Here, we will show you the whole process.
Go to Google Cloud Platform
First, go to your Google Cloud account. If you are logged in to your Google account, you will be redirected to the dashboard automatically.
Otherwise, you need to log in to your Google account. The next step is to create a new project.
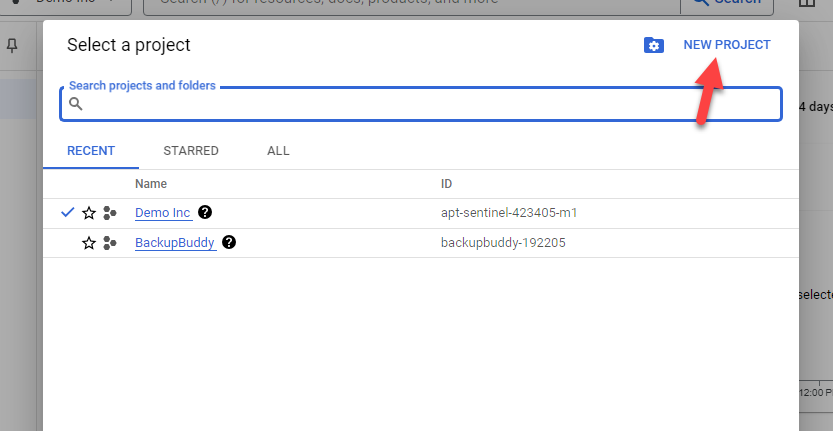
If you already have a project, you can use that.
Create an App
Once you have created a project, go to the OAuth Consent Screen. From there, you can choose how you want to enable your app.
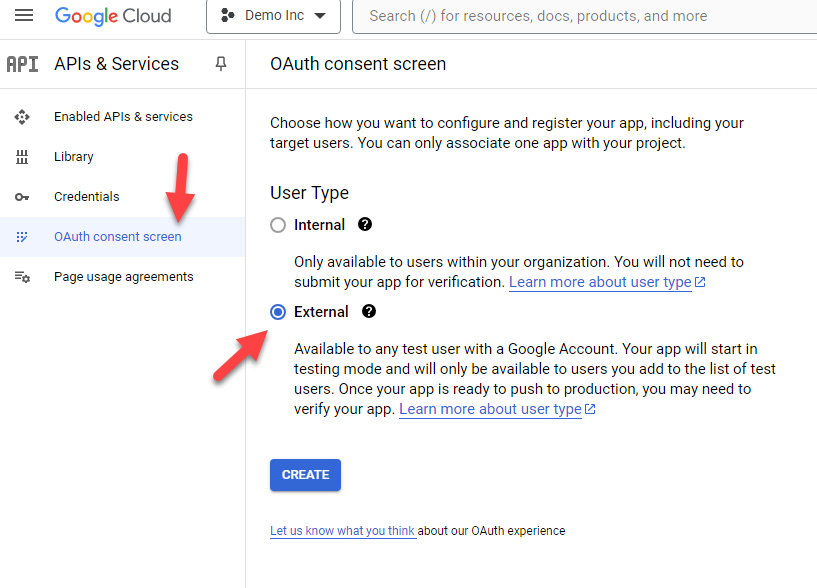
There are two options available:
- Internal
- External
You can use the internal option when enabling the app just for people in your organization. If you must allow the app for third-party users, use the external function. We will be using the external function in this tutorial.
From the next step, you can register the app.
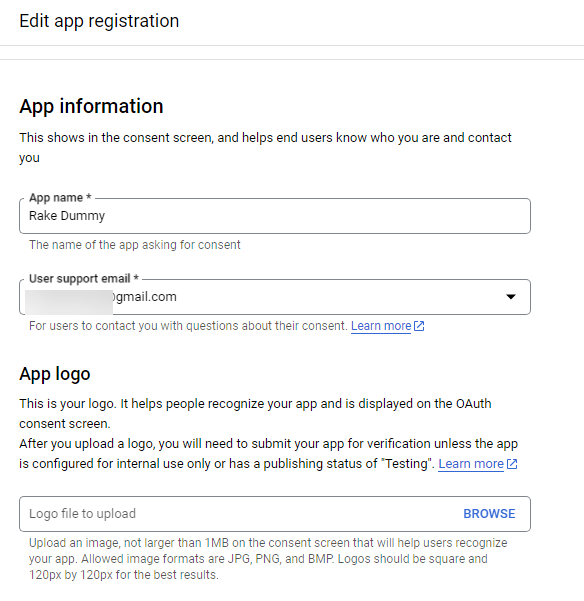
The three significant things you need are:
- App name
- User support email
- Application homepage
Once you have completed those, you can move forward. Or, if you need to add more information regarding the application, you can add details like:
- Logo
- Domain
- Authorized domains
- Developer contact information
Once you have completed the information, go to the next stage. You will be redirected to a page called Scopes.
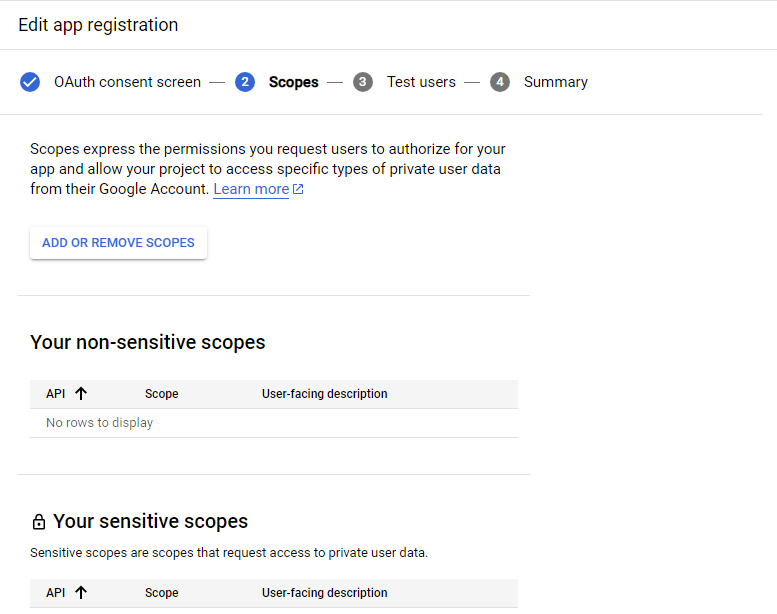
You do not have to do anything there. Skip that page and the test users page.
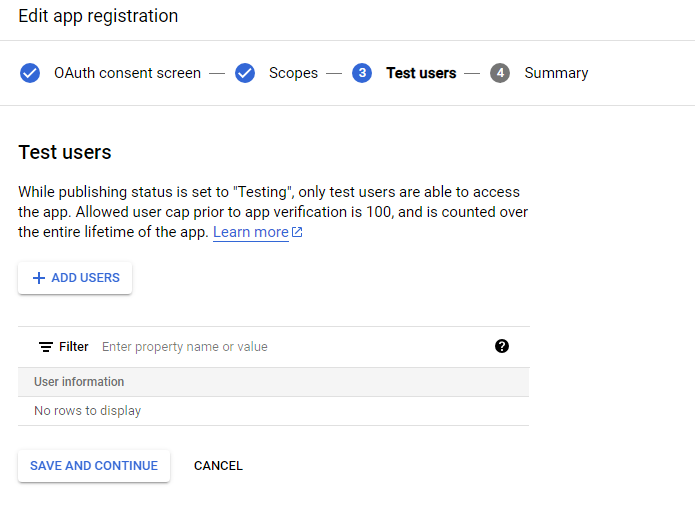
In the final stage, you will see a summary of the app you created. The next step is to create new credentials.
Create Credentials
To do that, go to the credentials option and click + create credentials.
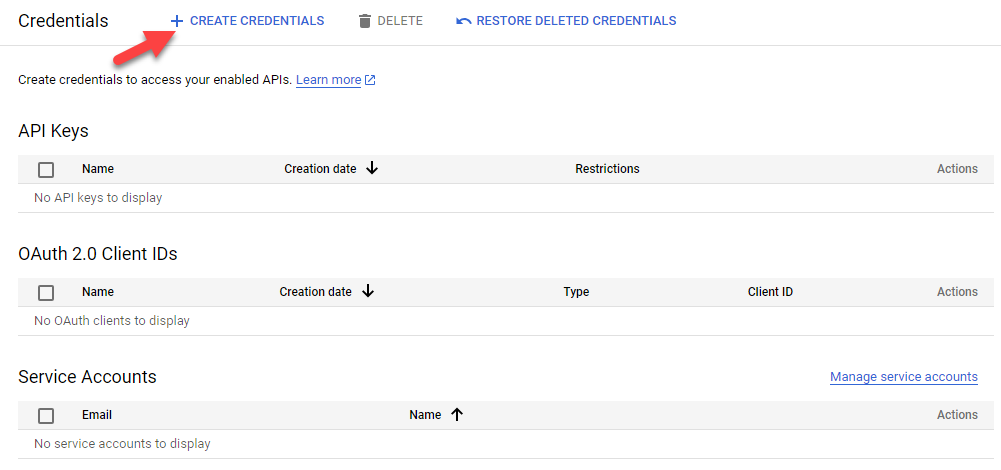
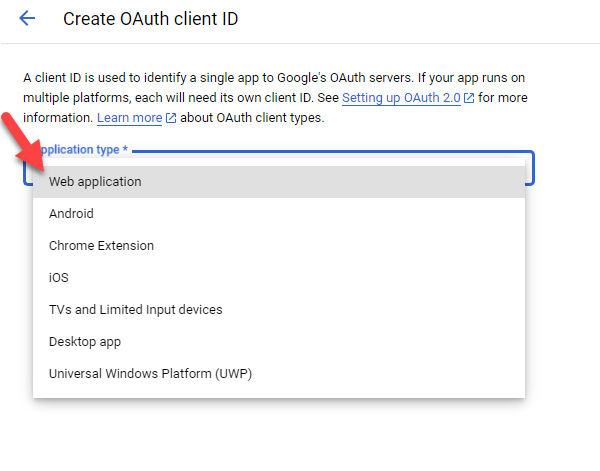
From there, choose the OAuth Client ID option.
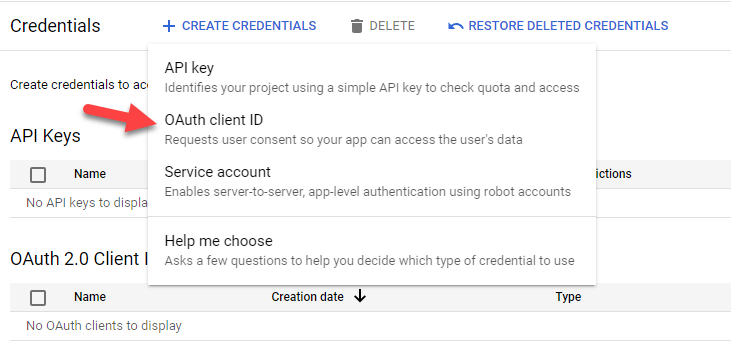
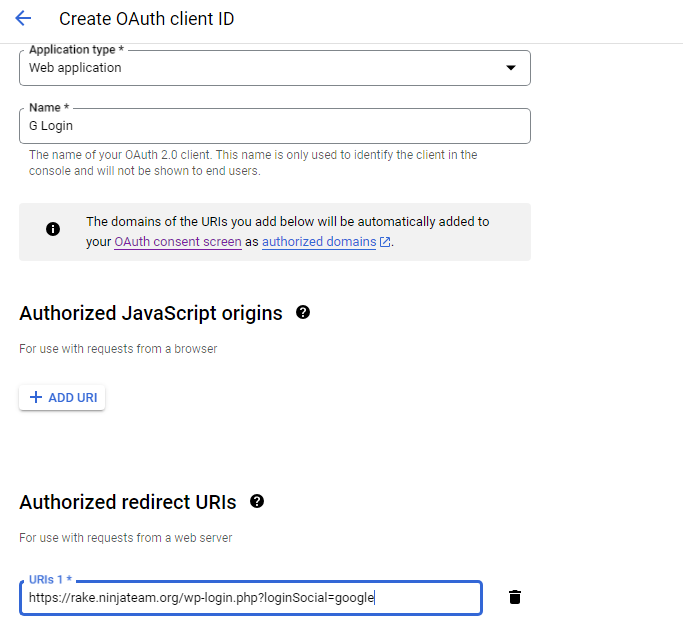
The application type should be a web application.
You must give it a name and enter the redirection URL, which can be found in the plugin’s settings.
Once you have added those, click on Create. The process may take a couple of minutes to complete. Once they have completed it, you will see some credentials in a pop-up window.
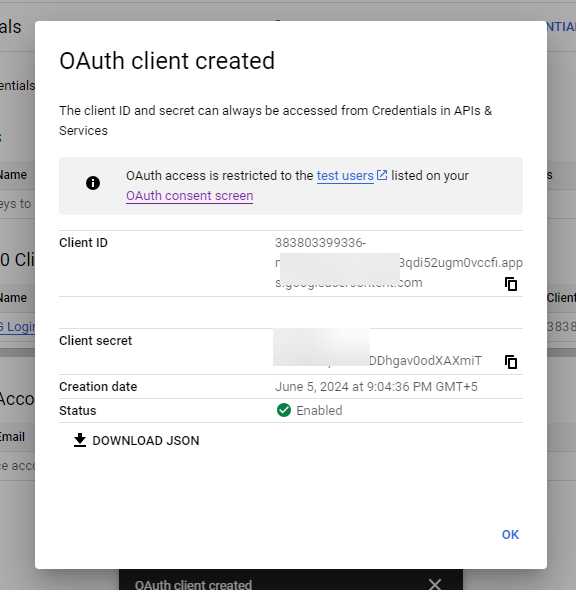
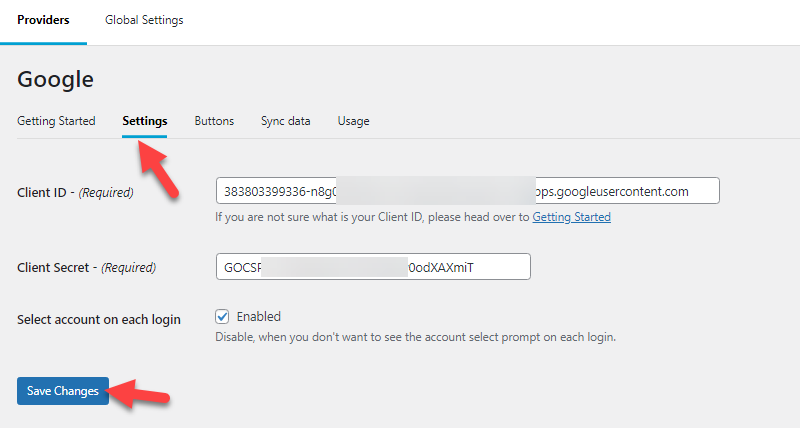
Go to the plugin’s settings and enter the client ID and secret key.
Complete Plugin Configuration
Once you have pasted that information, save the settings.
The app is currently in testing mode. Go to the OAuth consent screen and hit the publish button to publish it.
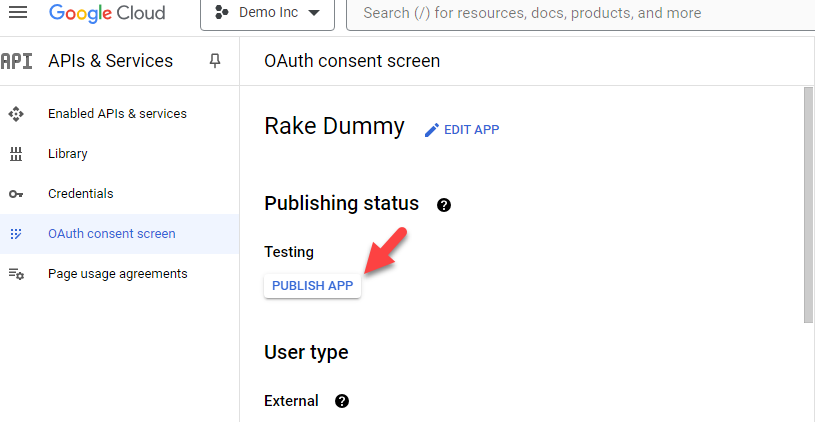
Within a few seconds, the app will be set to production. Now, go to the admin area of your WordPress or WooCommerce store, and you will see the log in with Google option there.
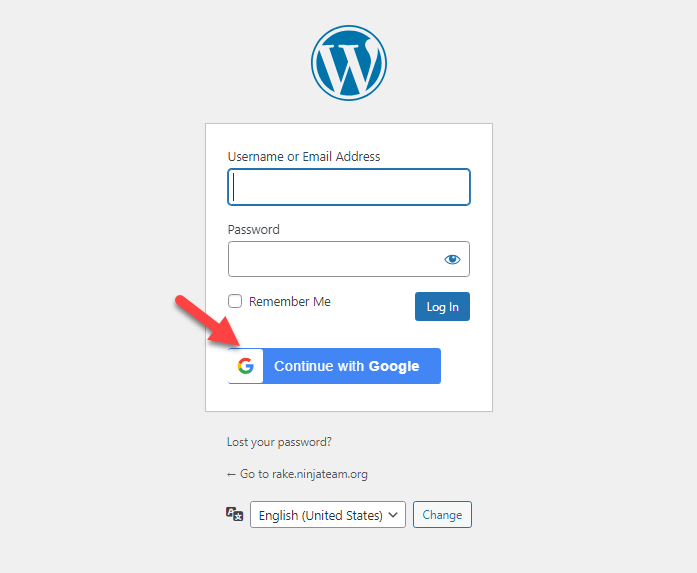
That’s it!
This is how you can set up a Google login for WordPress. The configuration is simple and easy to understand.
Conclusion
If you need to simplify the login process of your WordPress or WooCommerce store, consider adding a social login function. Most websites have the social login function, and adding it is simple.
In this article, we have shown you how to set up login with Google with an easy-to-use plugin. You do not need to deal with any coding, and the setup is completely free. So, if you are running a customer-centric business and need to add a simple function to help users log in seamlessly, you need to use this method.
Would you add this function to your WordPress website?
Let us know in the comments.