WhatsApp is the most commonly used instant messaging app all over the world because of its simplicity and user-friendly.
It’s obvious that more and more companies are beginning to realize the need to integrate this wonderful tool into their business. In other words, the WhatsApp widget is an essential and powerful widget for WordPress to help customers stay connected with your business. It’s also easy for store owners to deal with pre-sale inquiries and requests.
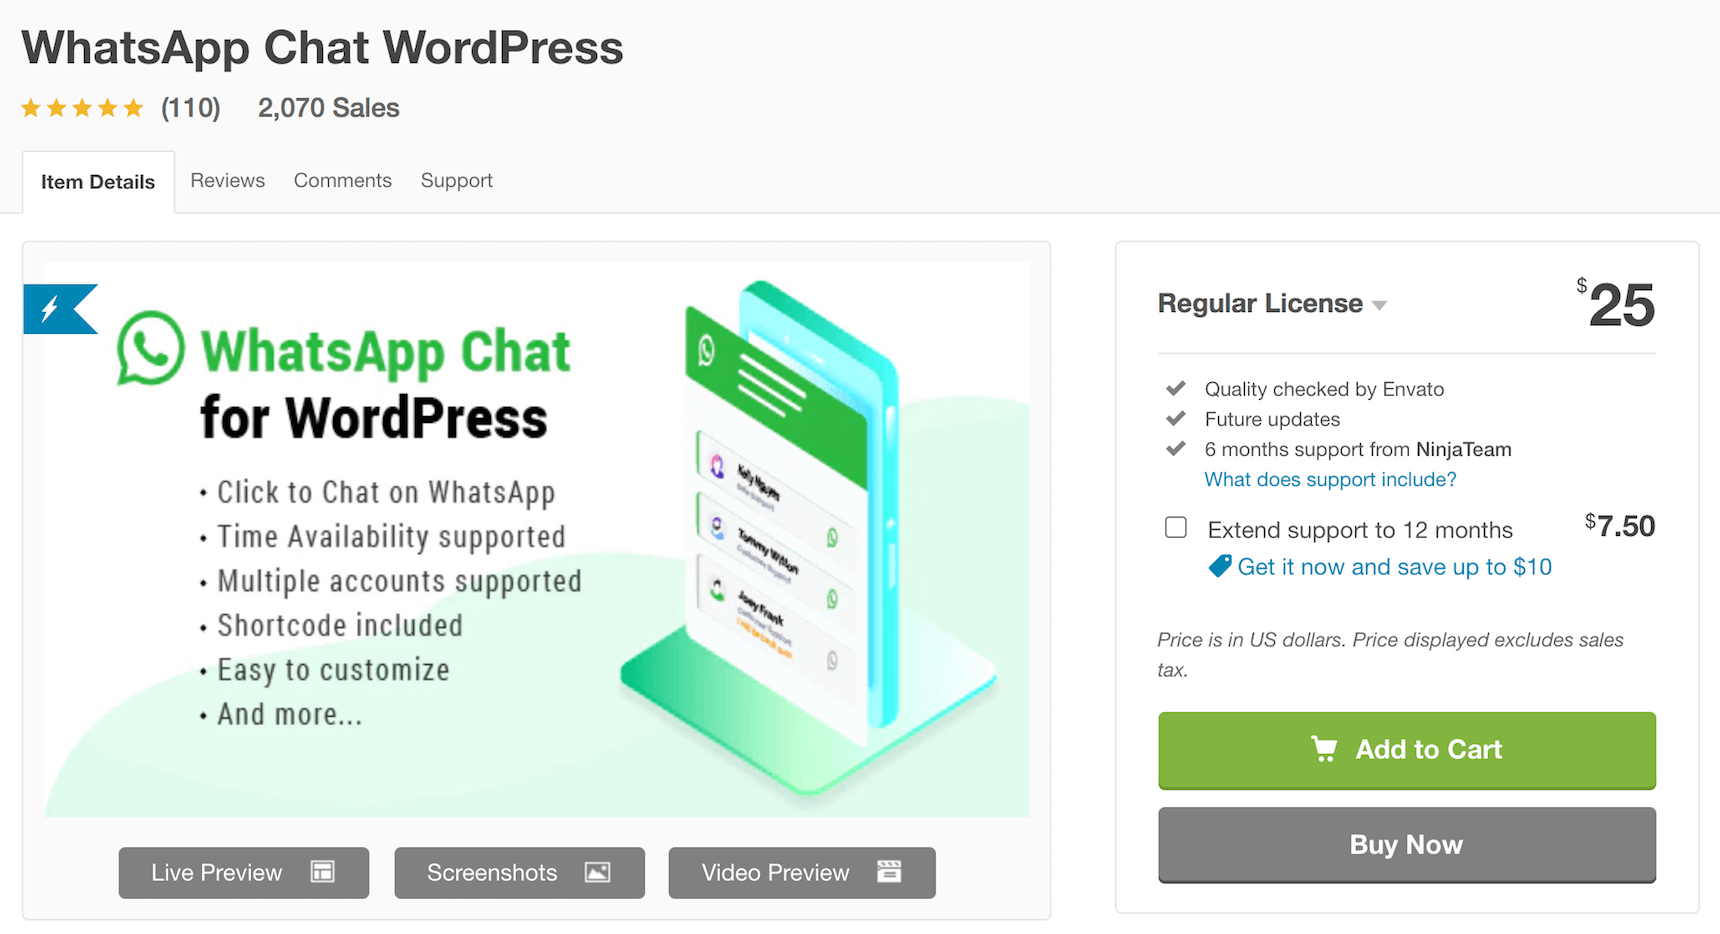
With the WhatsApp Chat WordPress plugin that we are going to go through in today’s article, you can set up сhat on your site and it will promptly appear on your specific pages. You can personalize the plugin in terms of writing welcoming messages, choosing icons, and so forth. With the help of WhatsApp chat plugin embedded on a web page, you will stay connected with your clients at any time and provide instant support to them that really improves the customer experience.
In today’s post, we’ll show you the way to integrate WhatsApp button and widget into your WordPress site.
Are you ready? Let’s dive in.
How to integrate WhatsApp on your WordPress website?
In your WordPress dashboard, go to Plugins > Add new > Upload Plugin > Upload the plugin zip file you downloaded from CodeCanyon page > Activate it
Configure WhatsApp Chat WordPress plugin
After installation, we will have three main sections of the plugin as shown in the picture below:
- Add New Account
- Floating Widget
- Settings
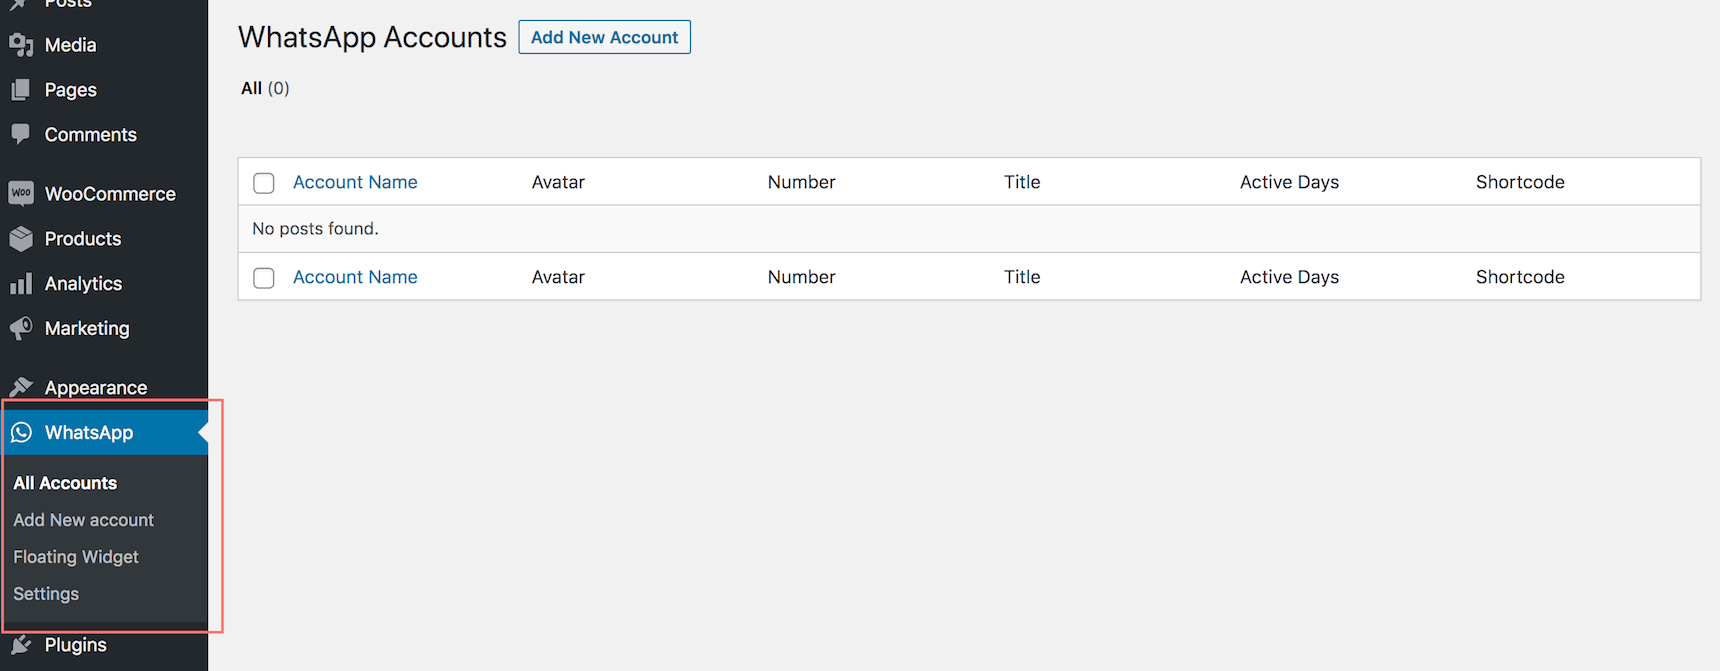
Okay, now let’s first go through the most important step called “Add New Account” before we display WhatsApp widget on our site.
1. Add new account
In this section, we can easily see 10 essential fields that we need to fill out in order to create a new WhatsApp account.
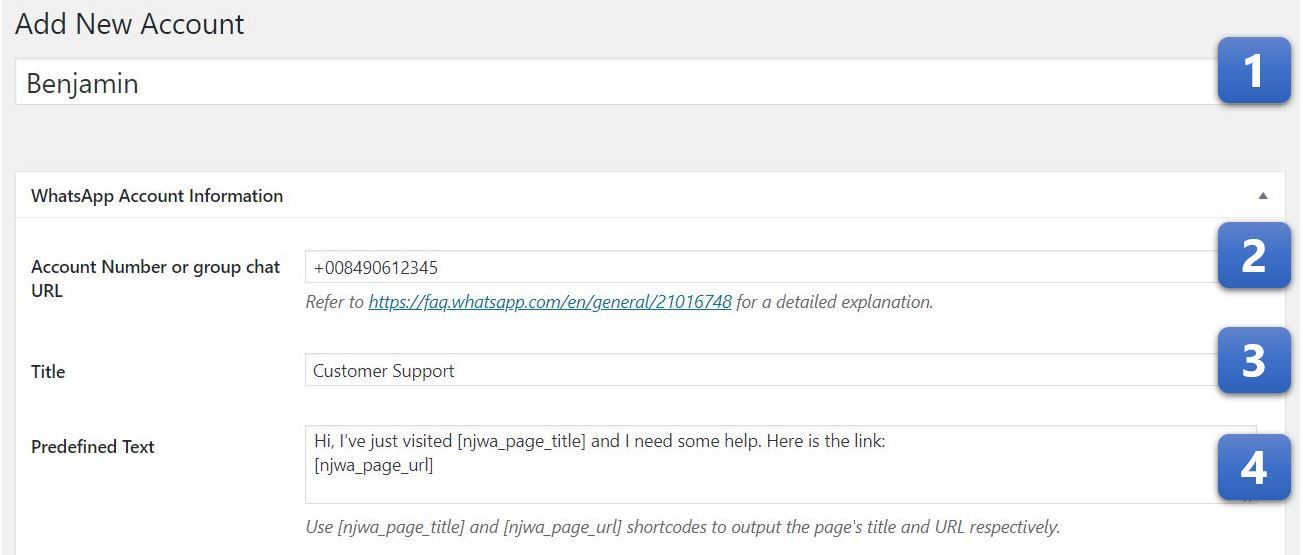
1. Account Name
The name of a member like Benjamin, Thomas, Will, etc.
2. Account Number or Group Chat URL
3. Title
Their job title, for example, Content Writer, Customer Support or Technical Support, etc. This title is displayed in the floating widget.
4. Predefined Text
This is the text message which is automatically generated when your customer approaches you for the first time.
For example, Hi, I’ve just visited [njwa_page_title], and I need some help. Here is the link: [njwa_page_url]. (Note: Do not enter any quotation mark in this field.)
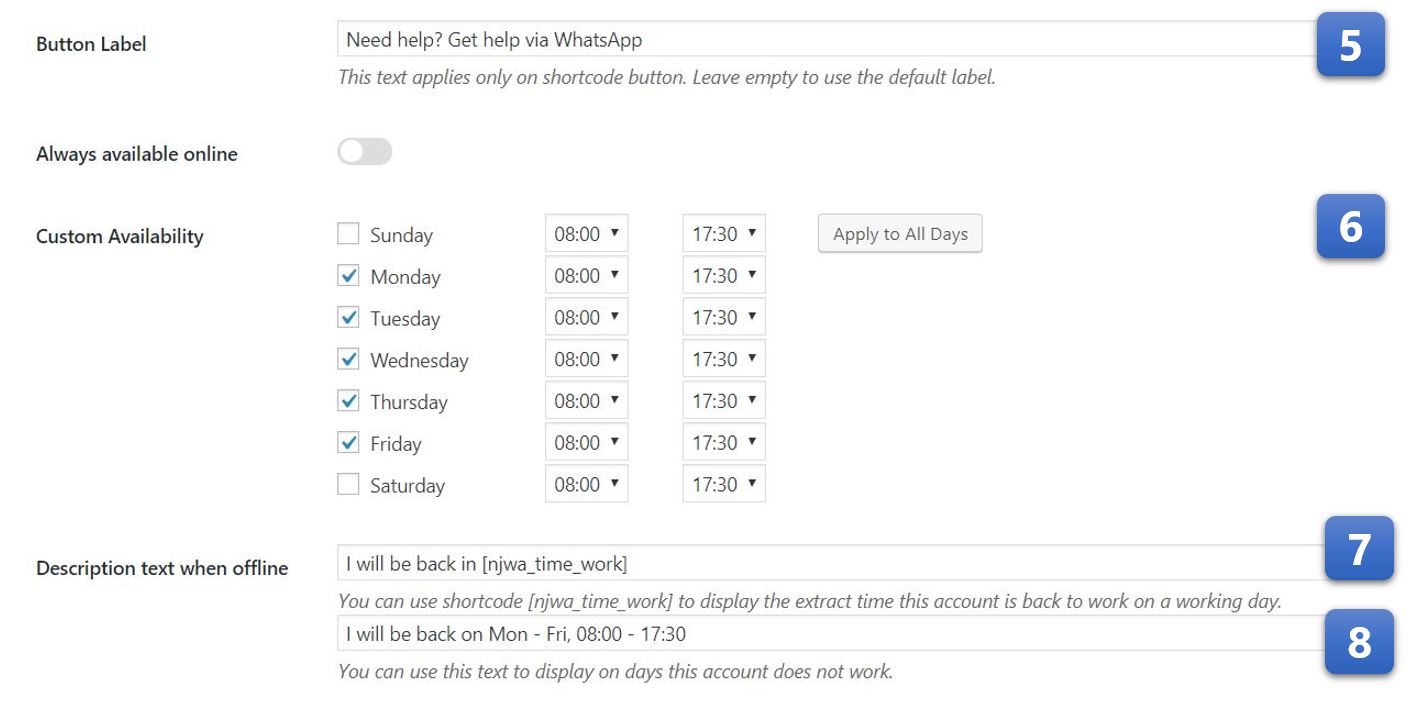
5. Button Label
The greeting text of their shortcode button like “Need help? Chat via WhatsApp”
6. Time Availability
Working hours of the staff
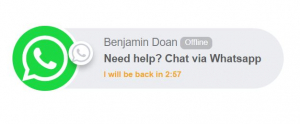
7. Description Text When Offline (1)
On business days and before start times, this text is displayed as a countdown timer, for example, “I will be back in [njwa_time_work] hour(s).”
8. Description Text When Offline (2)
This text is displayed when it’s after working hours of business days and on days off, for example, I will be back on Mon – Fri, 08:00 – 17:30″
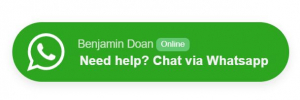
9. Button Style
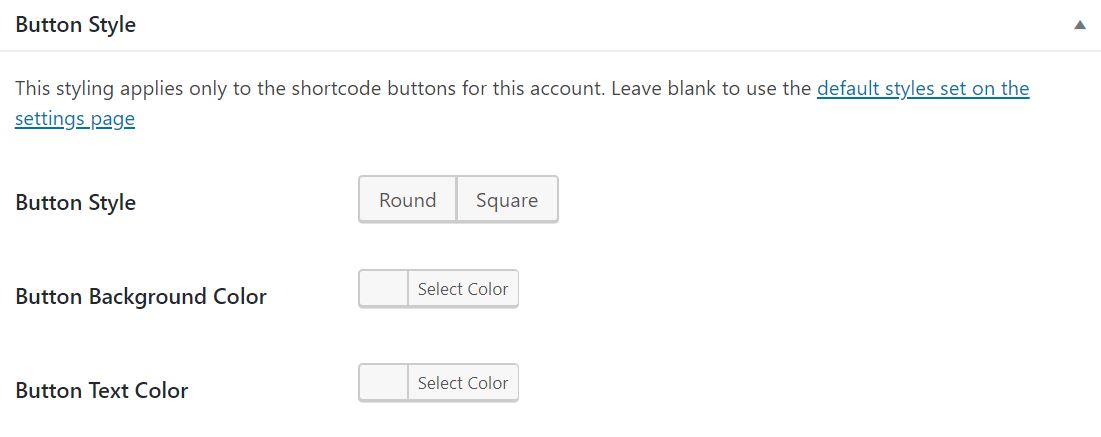
Here, you can personalize the WhatsApp button whatever you like. By default, in online status, the button has square borders, green background color with the text in white.
10. Avatar
![]()
You can set a profile picture for the account.
Voilà. And you’ve done creating your new WhatsApp account.
Easy enough, right?
Next up, let’s turn to the second section of this plugin called “Floating Widget” and set up some basic settings in order to let the WhatsApp widget float on your site. You can also personalize how the widget looks.
2. Floating Widget
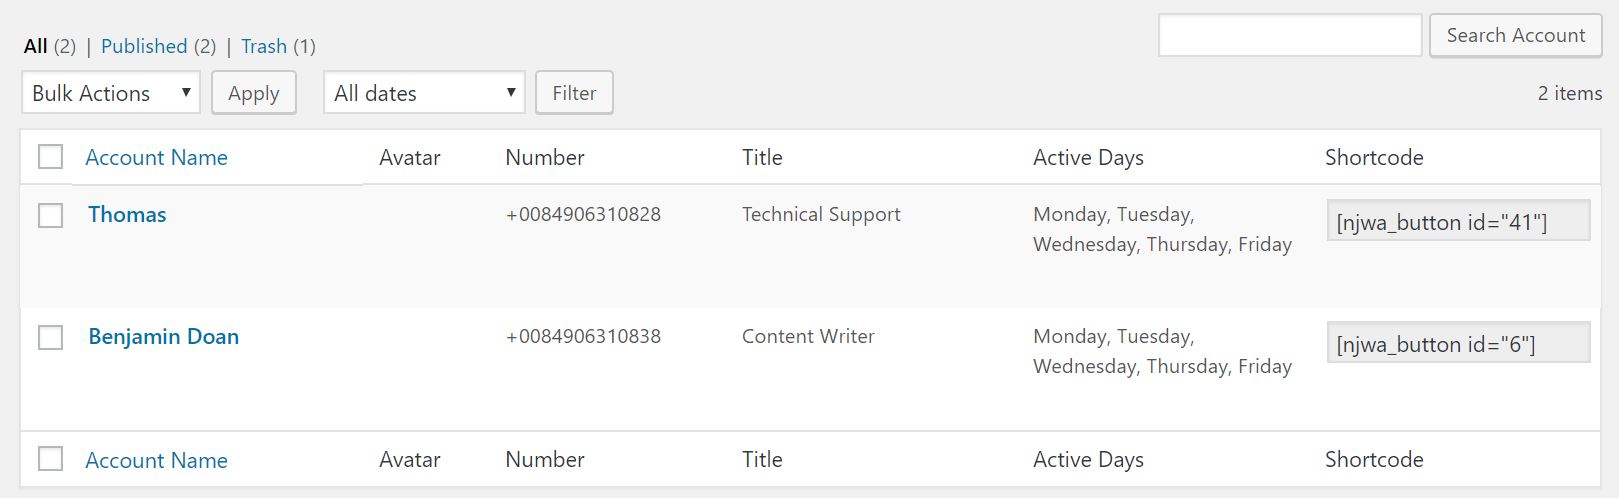
Click on the search bar, and all accounts will be listed there. Click to select an account that you want to display.

Then, moving on to the “Display settings” part for the purpose of configuring some essential characteristics of the widget.
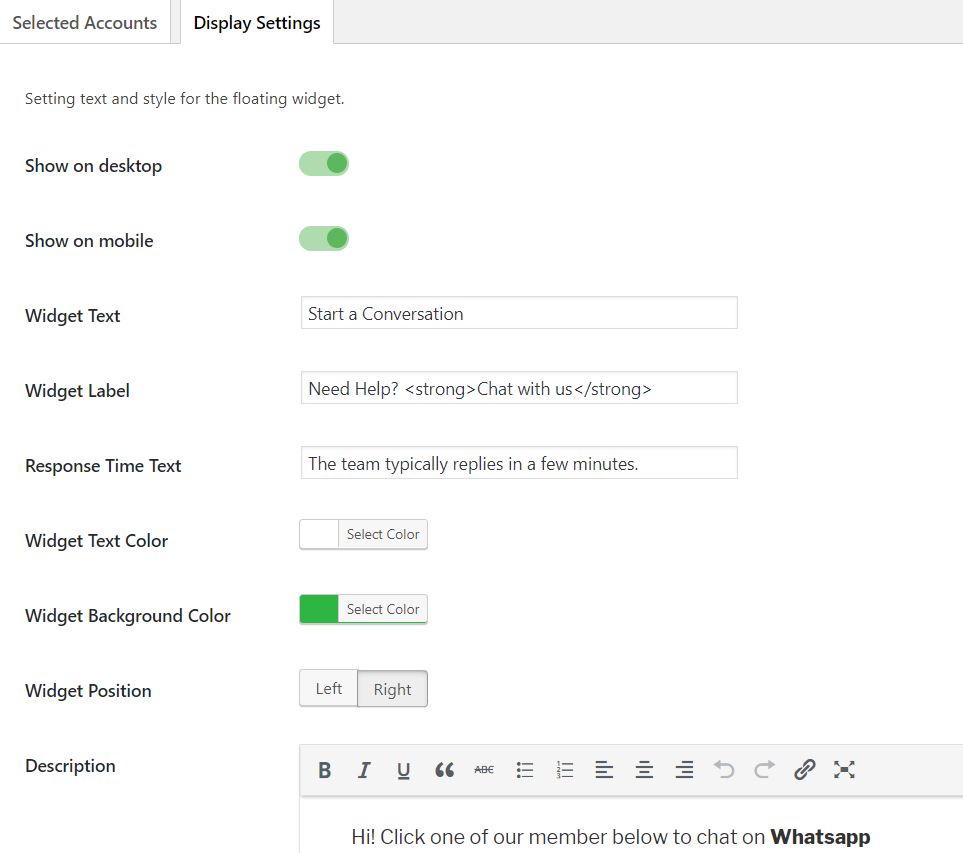
You can customize attributes of the floating widget including title, subtitle, colors, and position.
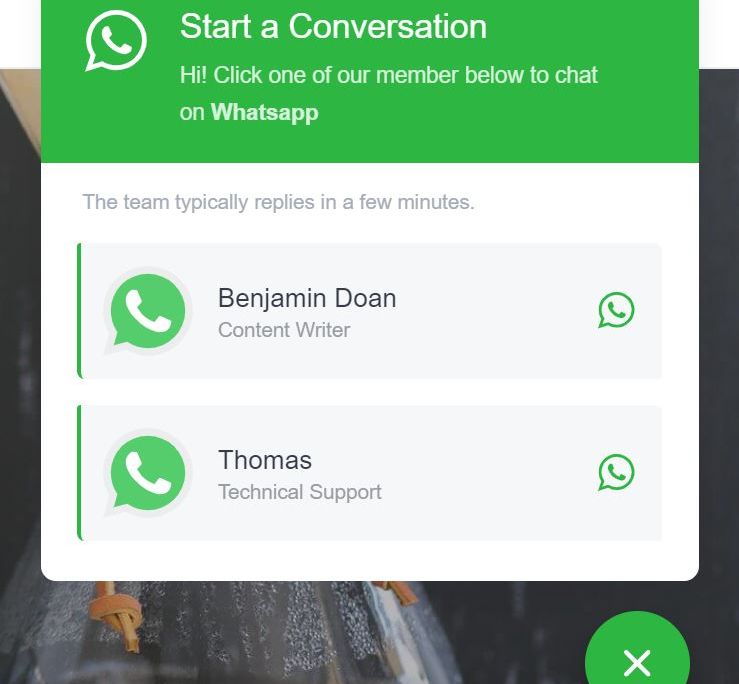
This is how it looks on the front-end:
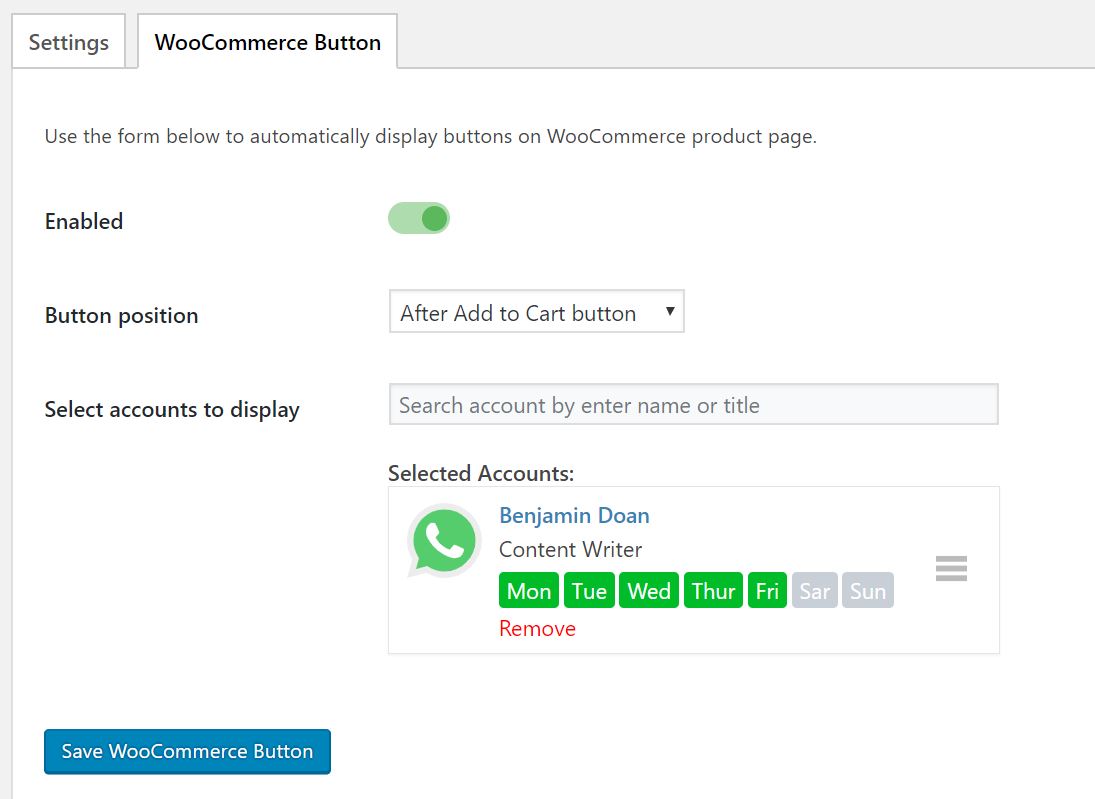
Finally, you can go to the last section of this plugin, “Settings” to adjust some vital configurations like button style, button background color or button text color before displaying the WhatsApp widget on your site.
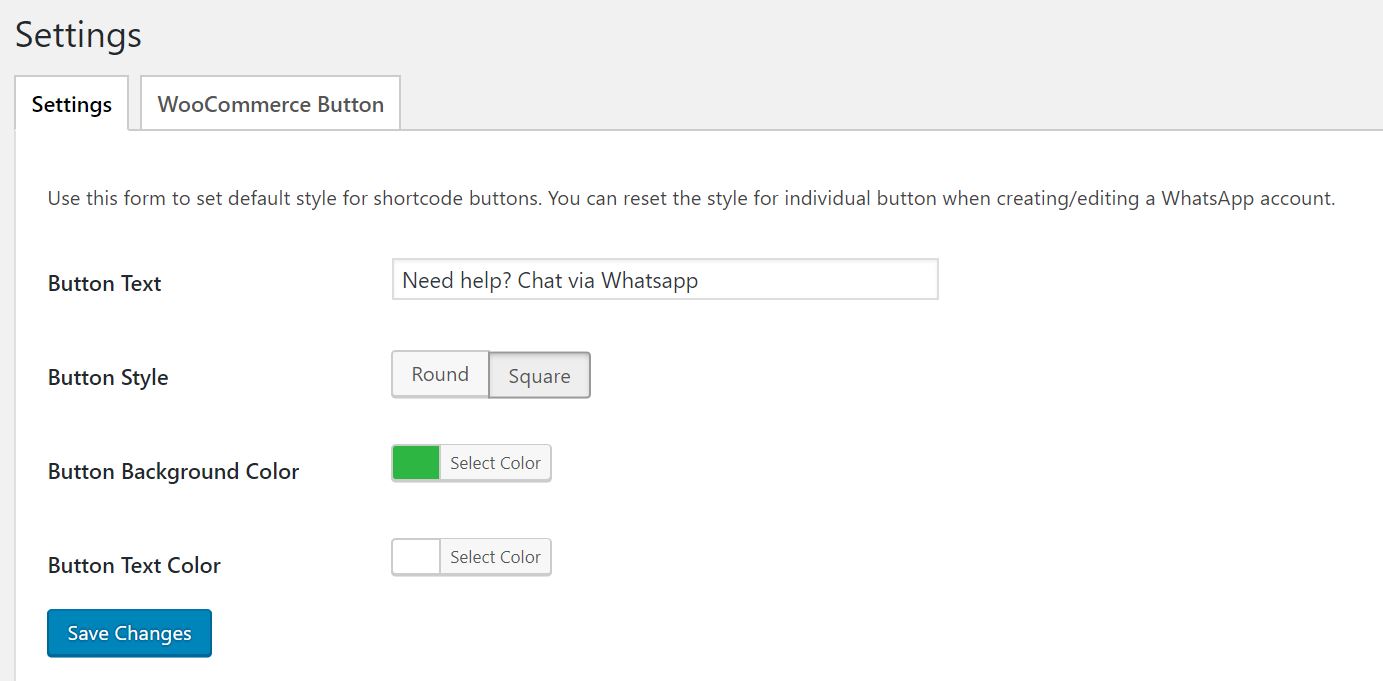
Ahhh, one more thing is that you can also display the widget on your WooCommerce store. Sounds awesome, isn’t it?
After going through creating a new account and adjusting configurations of this plugin, the WhatsApp widget will look like this on your site.
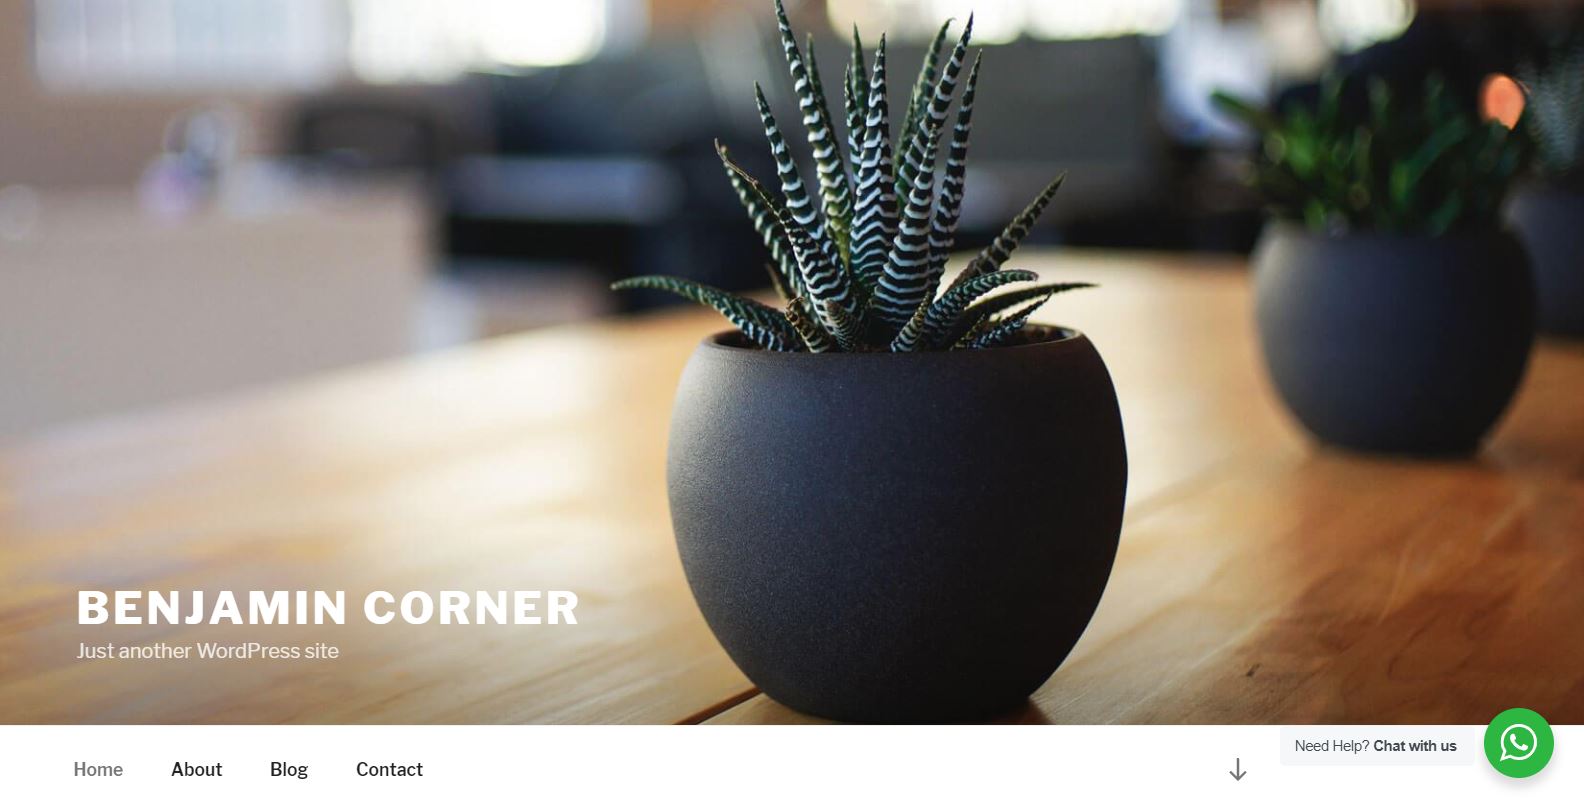
Pretty cool, huh?
And now you can stay in contact with customers and enhance your customer satisfaction that leads to the improvement of your business reputation.
Okay, now over to you – do you think WhatsApp chat button is a feasible way to improve customer experience and prestige of business? Do you have any experience of using this? Please share with us in the comment section below. We’d love to hear all your valuable feedback.
If you encounter any WordPress issues, feel free to reach us here.
[av_button_big label=’FREE DOWNLOAD WHATSAPP CHAT PLUGIN’ description_pos=’below’ icon_select=’yes-left-icon’ icon=’ue925′ font=’entypo-fontello’ link=’manually,https://wordpress.org/plugins/wp-whatsapp/’ link_target=” title_attr=” color=’custom’ custom_bg=’#0085ba’ color_hover=’custom’ custom_bg_hover=’#006799′ color_font=’theme-color’ custom_font=’#ffffff’ id=” custom_class=” av_uid=’av-n35pzy’ admin_preview_bg=”][/av_button_big]