
So you have finally decided to upgrade your basic contact forms created by Contact Form 7. Don’t get me wrong, Contact Form 7 is one of the simplest plugins for creating forms. But as I said, very basic… That’s where the Contact Form 7 Multi-Step Pro add-on comes in.
Here is how to use it properly to create stunning contact forms with no to less hassle.
What is the Contact Form 7 Multi-Step Pro Add-On?
Contact Form 7 Multi-Step is an add-on that splits a single Contact Form 7 form into multiple pages. Each tab in the CF7 editor becomes a step on the front end. Visitors move through smaller chunks instead of one long field list. The same site can contain multiple multi-step forms.
The free plugin Multi Step for Contact Form 7 is available on WordPress.org.
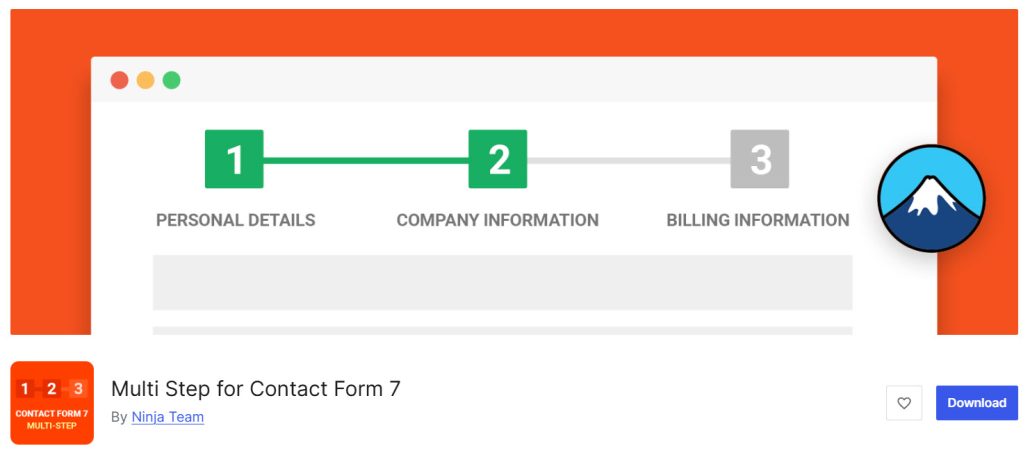
After you activate it next to Contact Form 7, you add steps from the familiar CF7 screen. You can name each step, drop in the usual CF7 tags, and keep Next, Back, and Submit on the right pages. Uninstall it, and the form returns to a single page. Your fields stay in place. Contact Form 7 Multi-Step Pro is the paid upgrade from Ninja Team.
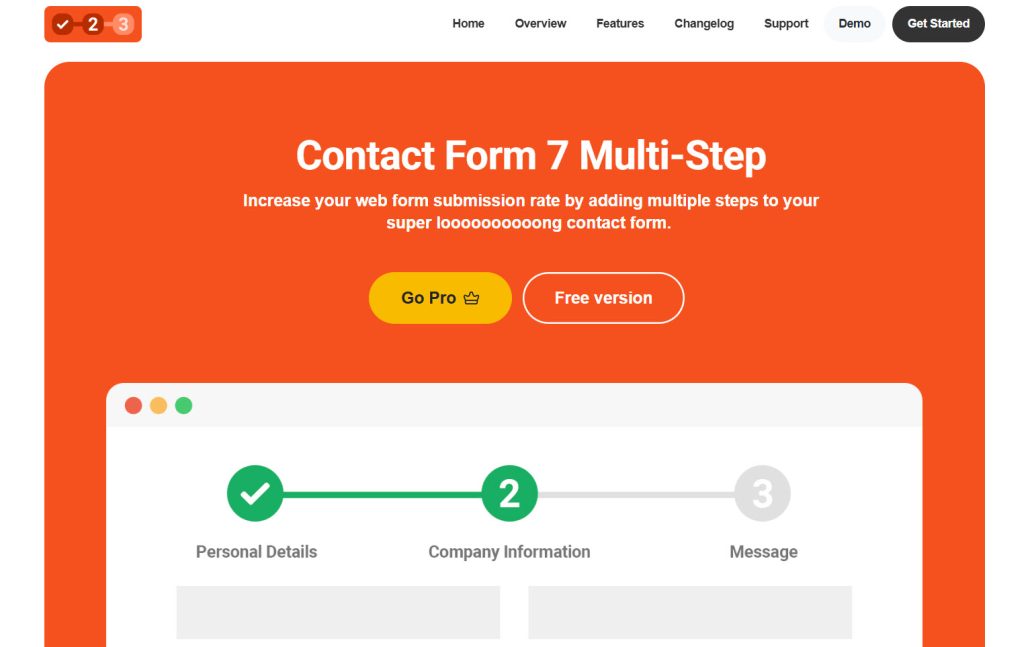
It is sold as a one-time license with lifetime updates.
Pro keeps the same tab workflow and adds the pieces that make a long form feel finished: a progress bar with styles and a percentage, custom button labels, step transitions, a recall tag that reprints answers from earlier steps, a preview button before send, and an option for visitors to open a step out of order.
Use it on quote forms, registrations, applications, reservations, subscriptions, and event signups.
Anything that asks for contact details, then project details, then a file or a date. You stay inside Contact Form 7.
You do not rebuild the form in another builder. Install the free add-on if you only need extra pages. Move to Pro when you want the progress bar, a review step, or recall fields so people can check what they already typed.
What Do You Need Before You Start…
This add-on only works on top of Contact Form 7. Get the form plugin running first, then add Multi-Step. A draft form with real fields is easier to split than an empty one.
So you need to install
If you have configured the WordPress site or WooCommerce store with the add-on plugin, let’s get started.
How to Use the Contact Form 7 Multi-Step Pro Add-On?
Here are the things you can do with our add-on:
- Create multiple steps
- Color customizations
- Additional customizations
- Progress bar
Below, we will show you how to do it.
1. Create Additional Steps
If you open the form, you can see the + button.
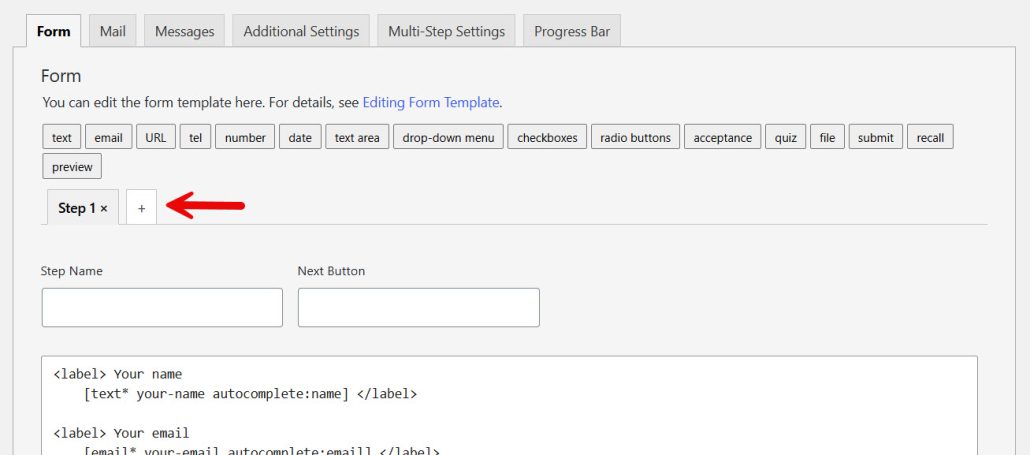
This way, you can add as many steps as you need.
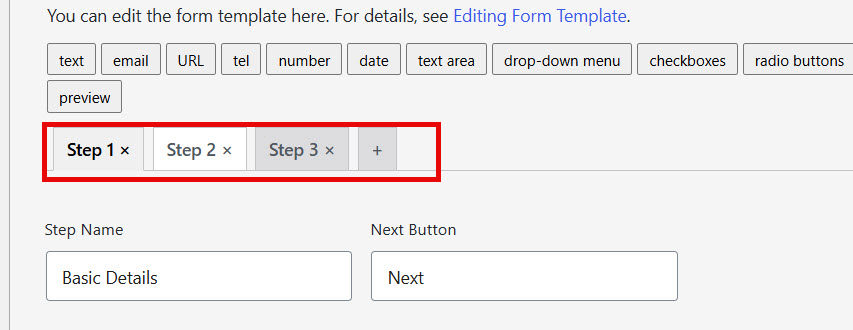
Save the configuration once you are done with it.
2. Color Customizations
If you go to the multi-step settings, you can see the color customization.
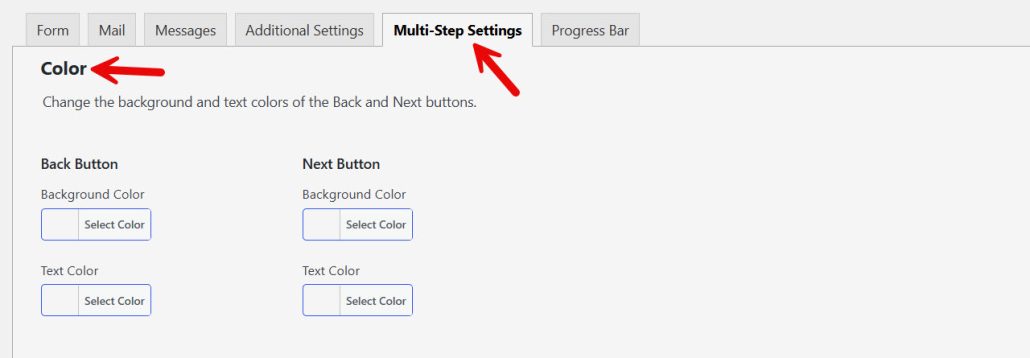
You can see options like:
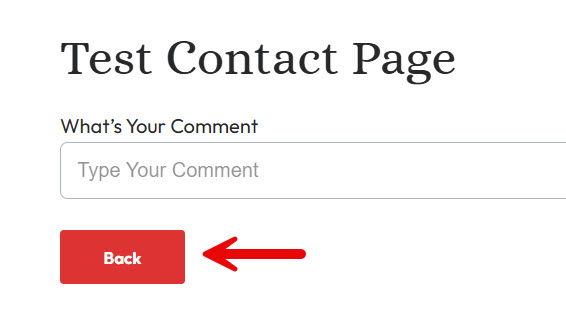
- Background color for back button
- Text color for back button
- Background color for next button
- Text color for next button
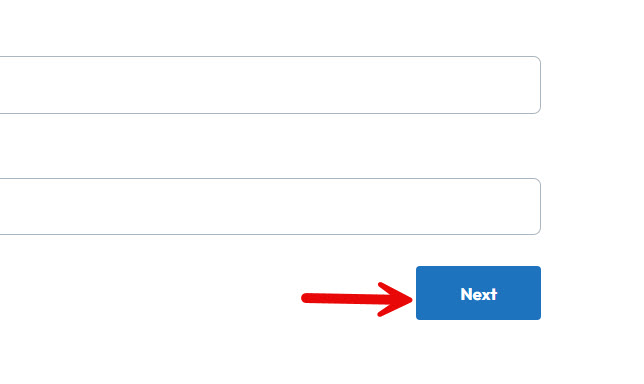
Based on your brand colors, you can choose them.
3. Additional Configurations
On the same page, you can see some additional customization options.
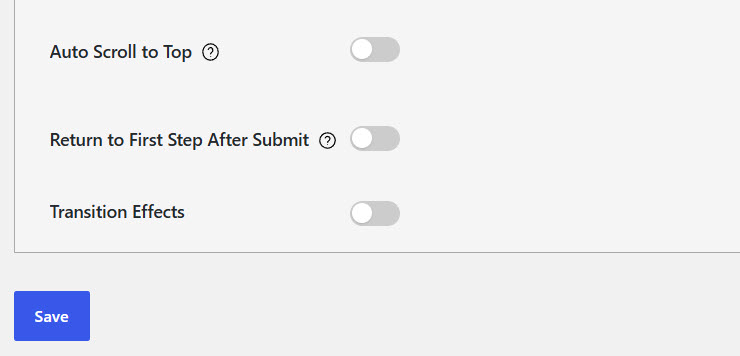
- Auto scroll to top: If you enable this option, after submitting each step, the form will scroll to the top. A good feature if you ask me.
- Return to the first step after submission: If enabled, the form will reset after a user submits it. If you need to collect multiple entries, it is a good feature to have.
- Transition effects: When you enable this, you can choose fade-in or fade-out animation for the steps.
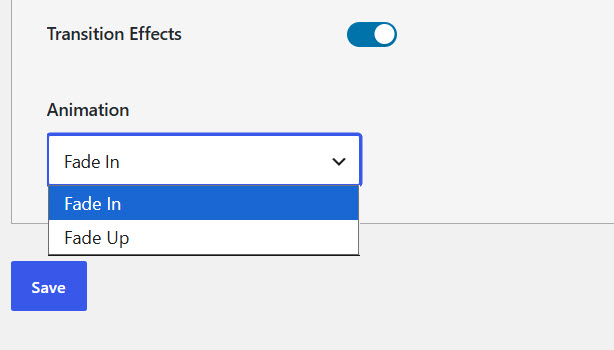
It helps with the user experience.
4. Progress Bar
This is one of the best features we have built.
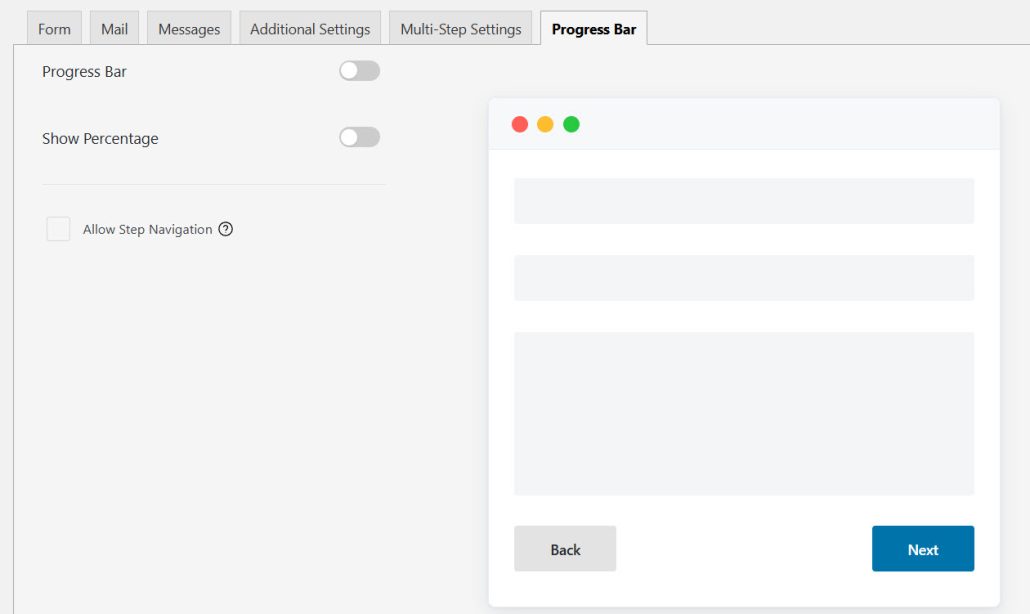
As the name suggests, this will add a progress bar to the top of the form. If you are publishing really long forms, this helps the user understand which step they are in. Enable the progress bar and configure it according to your preference.
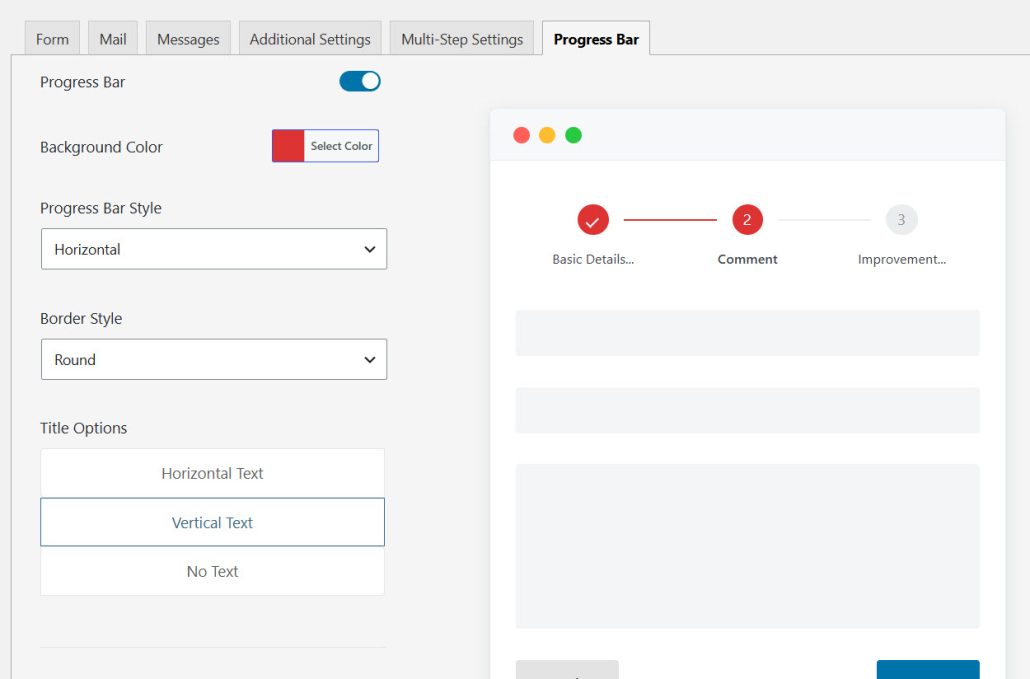
The live preview will show how the bar will look. After configuring it, save it and check the form from the front end.
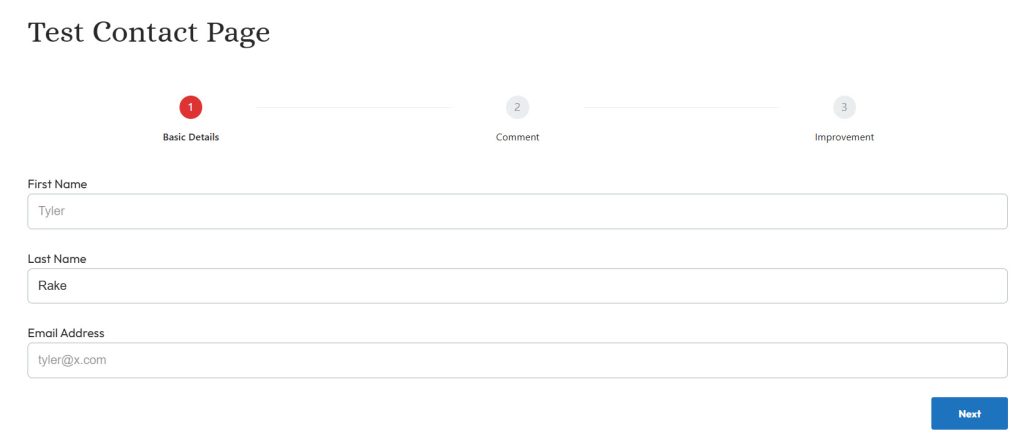
As you can see, the progress bar is visible. Next, we have the show percentage option.
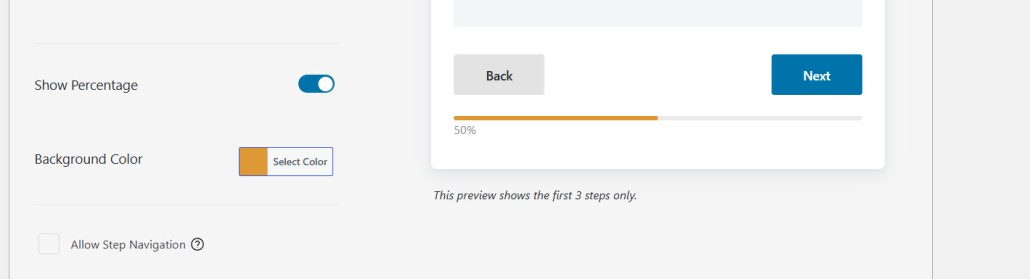
As you can see in the preview, enabling it will show the percentage completed at the bottom. You can also choose a color for the bar.
The final option we have is to allow step navigation. If you enable it, instead of submitting each step, your visitors can switch between them.
What Are the Common Use Cases for Contact Form 7 Multi-Step Pro Add-on?
A one-page Contact Form 7 form is fine for name, email, and a short message. It starts to fail when you ask for a project brief, files, dates, and billing on the same screen. Multi-Step Pro is for those longer CF7 flows. You keep one form and one shortcode. Visitors only see one group of fields at a time.
- Quote and quotation forms. Step one collects contact details. Step two collects product, quantity, and deadline. A Pro preview step lets the buyer check the request before sending.
- Registration and application forms. Split personal info, company or student details, and uploads. Named steps and a progress bar show how much is left.
- Event and reservation forms. Put date, guests, and extras on later steps so the first screen stays short. Required fields still validate before the visitor can move on.
- Subscription and request forms. Use an early step for the offer they want, then contact fields, then notes. Recall tags in Pro can reprint the plan they picked on the last page.
- Any CF7 form with 10+ fields. If people abandon the page before Submit, the form is usually too long, not too unclear. Tabs give you pages without leaving Contact Form 7.
Start with the free add-on if you only need extra pages. Use Pro when the form should show progress, let someone review answers, or jump to a step on purpose.
Frequently Asked Questions
Now, let’s take a look at some frequently asked questions and answers on this topic.
It is a Contact Form 7 add-on that turns a single form into multiple pages. Each tab in the CF7 editor is a step on the site. Visitors use Next and Back instead of scrolling a long field list.
Yes. Multi-Step does not replace Contact Form 7. Install and activate CF7, then add the Multi-Step plugin. Without CF7, there is no form editor to attach steps to.
The free plugin on WordPress.org adds unlimited steps, step titles, and the native CF7 tab workflow. Pro adds a progress bar, percentage, custom buttons, transitions, a recall tag for earlier answers, a preview button, and choose-step.
Yes. Ninja Team sells Pro as a one-time license with lifetime updates. Confirm the current plan on the official product page before you buy.
Yes. Each Contact Form 7 form can have its own steps. Place each form with its own shortcode. Test every form after you add tabs.
The form goes back to a single page. Fields and tags stay in the CF7 editor. You do not lose the form. You only lose the step layout.
The progress bar is a Pro feature. After Pro is active, open the form, use the Multi-Step settings, and pick a bar style. You can show numbered steps or a percentage. Check the live preview before you publish.
The recall tag reprints answers from earlier steps. Use it on a review page so the visitor can see name, email, or plan choice before they hit Submit.
That is the Pro choose-step option. Turn it on when people should complete a section first, such as event details before contact fields. Keep required fields on each step so they cannot skip validation.
Use the WordPress.org support forum for the free plugin. For Pro, use Ninja Team support or chat from the product site. Note your CF7 version, theme, and other CF7 add-ons when you write in.
Conclusion
A long Contact Form 7 form is still one form. Multi-Step just puts the fields on separate pages so people finish it. The free add-on is enough when you only need extra tabs, step titles, and Next / Back.
Contact Form 7 Multi-Step Pro is the better fit when the form should show a progress bar, reprint earlier answers, offer a preview before sending, or let someone open a step out of order. Install Contact Form 7 first, add the free plugin, split one real form, and test a full submit on a draft page.
Move to Pro when that draft needs the review step or the bar. Keep each step to one job: contact, details, then files or dates. The shortcode stays the same. The form gets easier to complete, which is the whole point.

