Do you want to set up a multi-location map WordPress plugin? If you’re looking for a step-by-step guide, keep reading this article. We will provide you with a complete guide to the configuration.
If you run a business with physical locations, you know the importance of a website. A website will help your business maintain an online presence, which can attract more clients or customers.
However, if you have multiple business locations, adding all of them to the website would be ideal. By default, you can add the business address using a text widget in the sidebar or footer of the website.
But how to make it more fancy and user-friendly?
Adding a Google Map widget with your locations to the website would be perfect. If you are wondering how to do it properly, keep reading this post. Here, we will show you how to set up a multi-location map WordPress plugin without a hassle.
First, we will see why you need a multi-location map on your WordPress or WooCommerce store.
Why You Need a Multi-Location Map?
If you have a reputable brand with multiple locations, showcasing the branches on your website would be great. It will help visitors or potential customers pick a branch near their area.
Here are a couple more advantages of adding a multi-location map to your WordPress website.
- Better user engagement: Since visitors can interact with the map, it would be better for user engagement.
- Enhanced usability: Users will find it helpful since you can list all your business offices on the map. This is an ideal option to improve the overall usability.
- Local SEO optimization: When you run an offline business, you should focus on optimizing your website for local SEO. This is how you can get more customers and increase conversions. Adding a multi-location map to your website can help you with SEO.
Next, let’s see what to look for in a multi-location map plugin.
What to Look for In a Multi-Location Map Plugin
When you are looking for a multi-location map plugin for a WordPress site or WooCommerce store, consider these factors:
- Responsive design: People might visit your website using a mobile phone, tablet, or computer. So, it’s a great idea to ensure your maps are responsive on all devices.
- Ease of use: You should choose a plugin that is easy to use. A plugin with a complex configuration won’t be feasible if you’re a beginner or working on a client’s project.
- Customization options: It would be great if the plugin allowed you to customize the map’s appearance. This way, you can ensure the map’s design matches your website’s style.
- Support and updates: If you need help with the plugin, the support team is the right person to contact. So, check how good their support team is. You should also get a plugin that receives regular updates.
- Pricing: You do not need to choose an expensive multi-location map plugin. Any cheap/affordable, or free plugin would be ideal.
- Compatibility: When you run a WordPress website, you might use custom PHP snippets, plugins, and themes. So, ensure the selected multi-location map plugin will work seamlessly with your WordPress installation.
Now you know what to look for in a multi-location map plugin. The next section will show you how to set up a multi-location map WordPress plugin properly.
How To Set Up a Multi-Location Map WordPress Plugin
You can see several store locator maps online. For this tutorial, we will use the WP Multi Store Locator. It is a free WordPress plugin available on the WordPress plugins repository. The first thing you need to do is install and activate the plugin on your website.
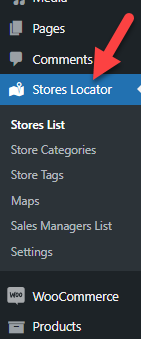
Once you have activated the plugin, you can see its settings on the left-hand side.
Next, paste an API key to the plugin’s settings.

You can create an API key from the Google Maps website. If you need a direct link to access the keys/create new ones, check out this link.
Once you have the API key from the Google Maps platform, paste it here and save the plugin’s settings.
The next thing you need to do is add new stores.
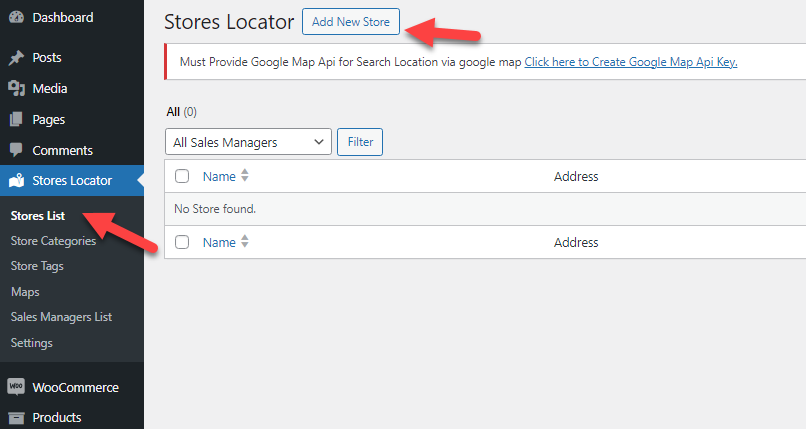
Now, you can add the store’s information.
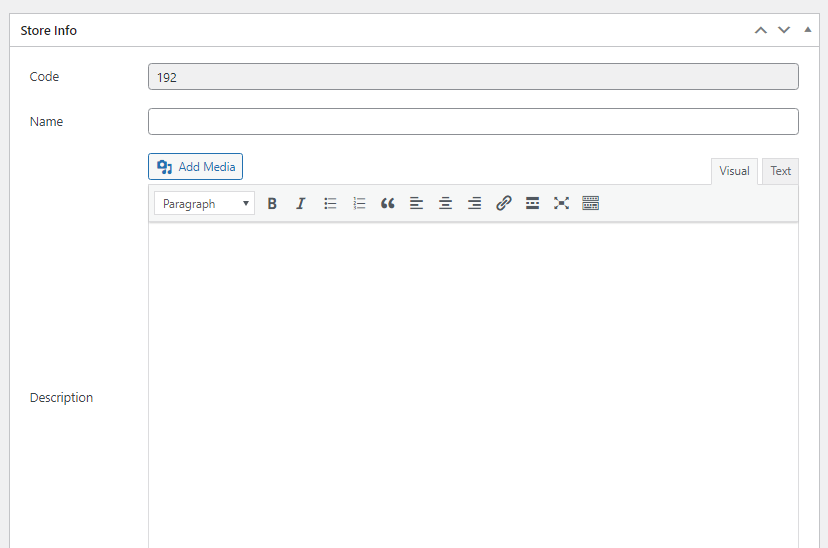
You would need to enter the details such as
- Name
- Description
- Phone
- Fax
- Working hours
- Address
And so on.
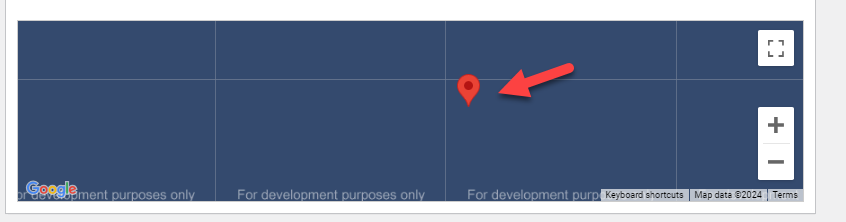
By the end of the configuration, you can add the location to the map.
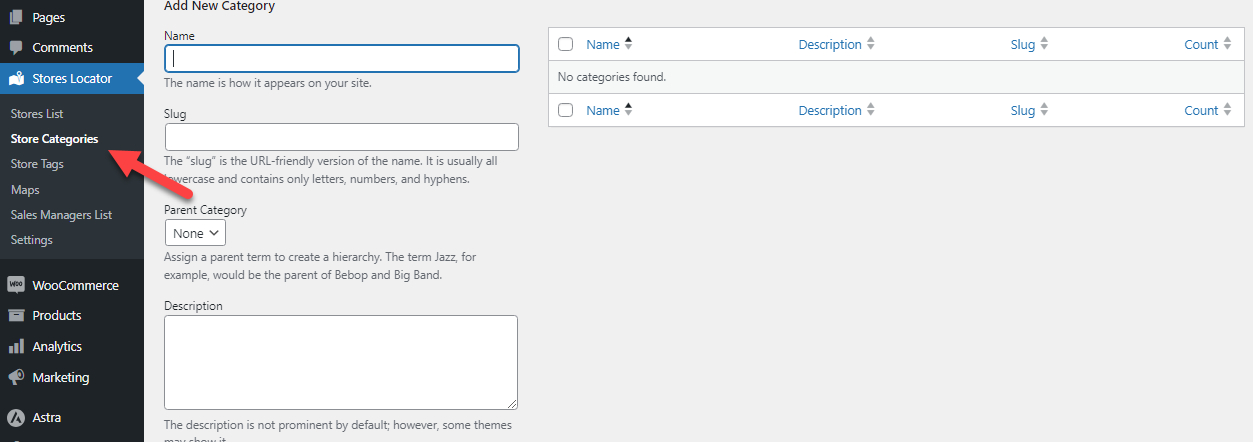
Once you have completed the configuration, save the settings. Now, you can categorize the stores with the plugin.
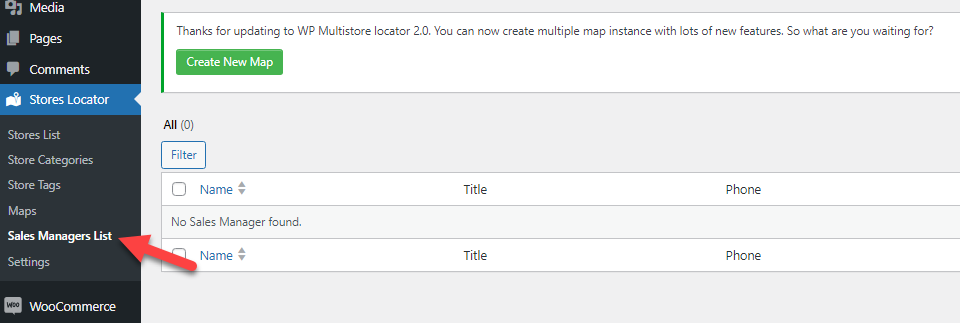
Similarly, you can also add custom sales managers to the plugin.
Next, you can create maps.
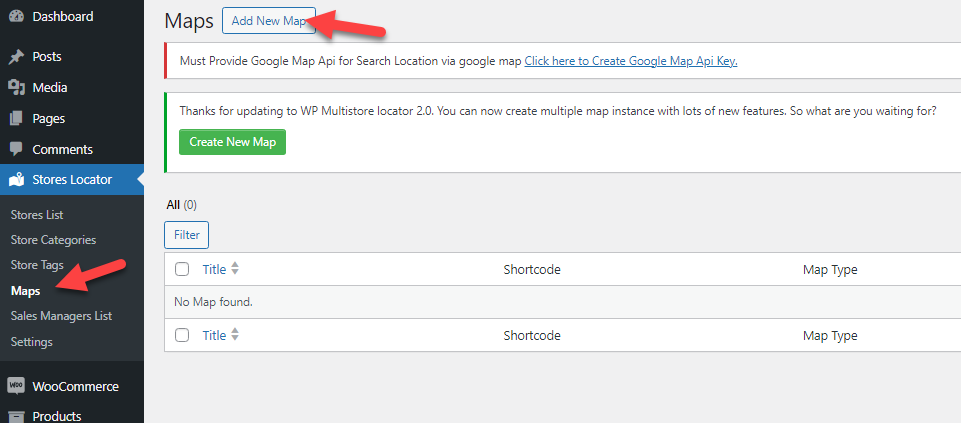
You need to do multiple configurations there.
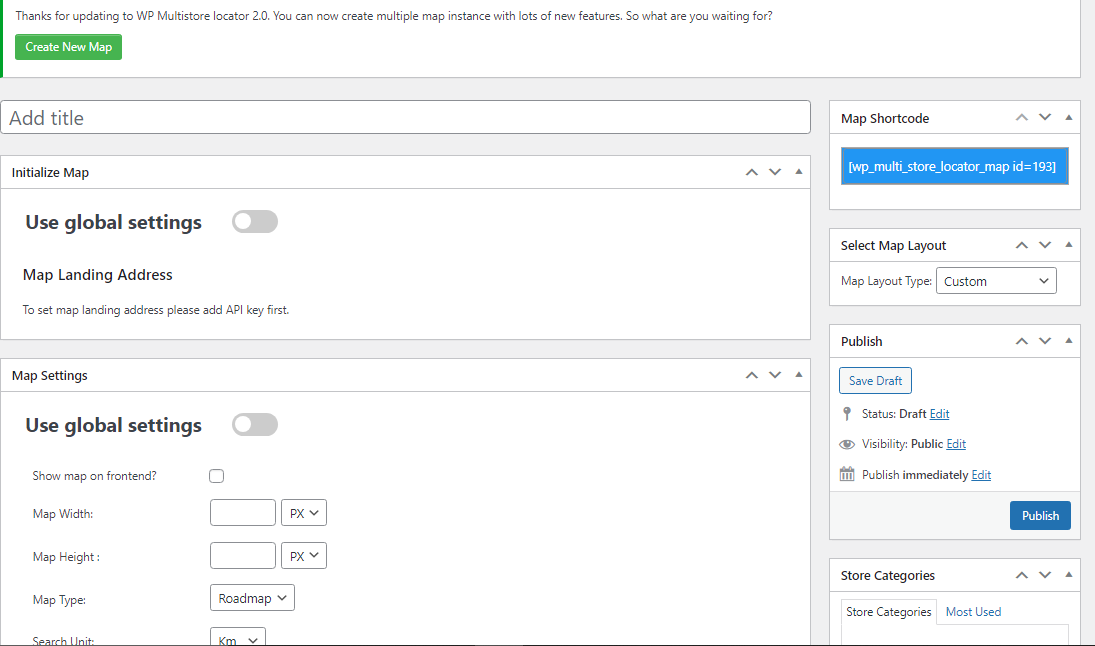
The main configuration options you should do are:
- Initialize map
- Configure the display options
- User marker
- Store marker
- Grid settings
- Placeholder settings
And so on.
After configuring the map, you can publish it. The map will then give you a unique shortcode that you can use on blog posts or pages.
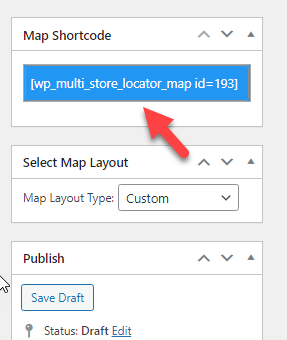
You can embed the shortcode on any page you like, and the map will be displayed on the front end.
That’s it!
This is how you can set up a multi-location map WordPress plugin.
Frequently Asked Questions
Now, let’s see some frequently asked questions regarding this topic.
If required, you’ll need a multi-location map plugin and a Google Maps API key. Ensure you have a list of the locations you want to display, including addresses and relevant details.
You can manually input each location into the plugin or use a CSV file to import them in bulk if it supports it. This is particularly useful for handling a large number of locations efficiently.
Most plugins offer settings to adjust map styles, change marker icons, and configure map features like zoom controls and type selectors. Use these options to ensure the map matches your site’s branding and meets user needs.
Conclusion
Adding a network map would be handy if you run a multi-chain restaurant or something similar. This way, your customers can choose a location near their home. In this article, we have shown you a simple guide to embed a multi-location map on WordPress.
As you can see, no coding is required, and you can complete this task within a couple of minutes.
Would you add a multi-location map to your WordPress website?
Let us know in the comments!