Do you want to use Advanced Custom Fields with Elementor? If you are looking for a step-by-step guide, keep reading this article!
When you need to create a website or online store, we (and almost everyone) recommend WordPress. WordPress has multiple functions that allow you to change the website as needed.
But what if you need to do more with your website?
With the help of a page builder plugin, you can design any type of web page you need without a single line of coding. Similarly, if you need to add more fields to the website, the Advanced Custom Fields plugin would be helpful.
Keep reading this article if you need to know how to use these tools to create stunning page designs. We will show you how to use advanced custom fields with Elementor for your following website.
But before going further, let’s learn what Advanced Custom Fields and Elementor offer.
Advanced Custom Fields: An Introduction
WordPress comes with several features. However, if you need to enhance the features of your blog or WooCommerce store, use the Advanced Custom Fields plugin. ACF is a freemium plugin, and the lite version is available in the WordPress plugins repository.
The premium version starts at $49 a year, and it will unlock every potential feature. The plugin also integrates with Gutenberg. Hence, if you are looking for a simple plugin that can enhance the features you have on the WordPress installation, this plugin would be an ideal fit.
Next, let’s see what Elementor is and what it offers.
Elementor: An Introduction

With the help of a page builder plugin, you can create stunning landing pages or blog designs. In our experience, if you need to use a powerful and feature-rich WordPress page builder plugin, check Elementor.
Elementor is a freemium plugin. The free version has limited features and can be downloaded from the WordPress plugin repository. The premium version costs $59 a year.
Elementor has already added cutting-edge features, such as AI integration, to its tool so users can create landing pages and copy with little effort.
In the following section, we will guide you through using Advanced Custom Fields with Elementor in a straightforward and easy-to-understand manner.
How to Use Advanced Custom Fields with Elementor
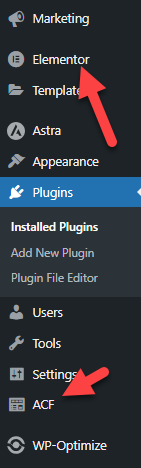
First, install and activate Elementor and Advanced Custom Fields on your WooCommerce store. Once you have completed the activation, you can see the plugin’s settings on the left-hand side of the dashboard.
We will be configuring ACF settings first.
Creating a New Field Group
Start by creating a new field group.

There are three custom settings you need to modify,
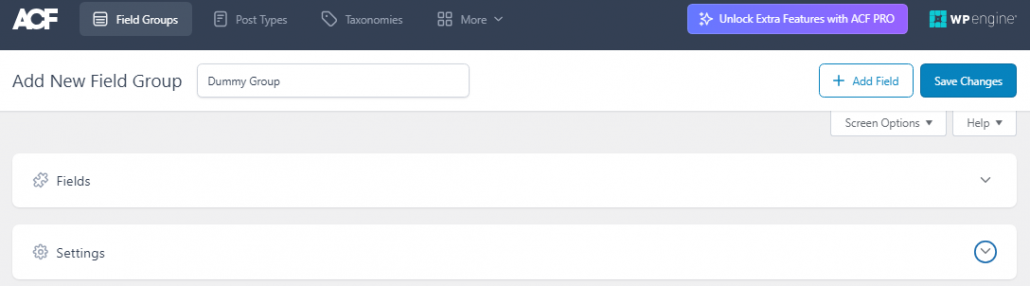
- Field group name
- Fields
- Settings
The name is just for identification. When you have created multiple field groups, the name will help you identify them. It won’t be visible on the front end of the website.
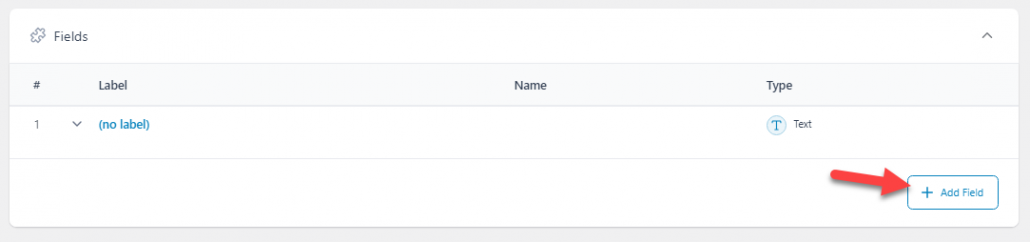
Next, you have the fields option. Here, you can add all the fields you need in the group. By default, the plugin will add a text field to the group.
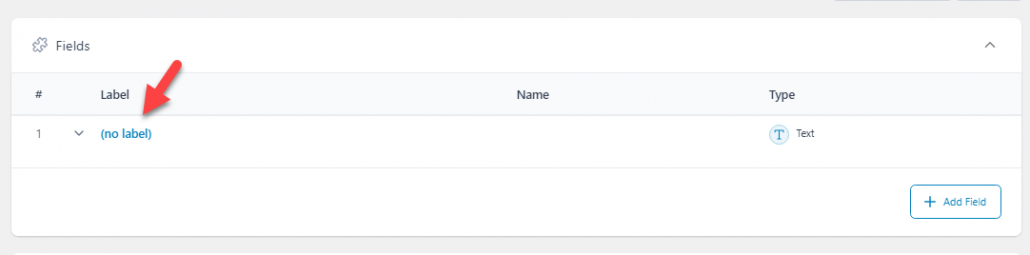
If you need to add a new field to the group, click the + button.
Now that you understand how the field option works, let’s add some fields to the group.
Under field configuration, there are five options.
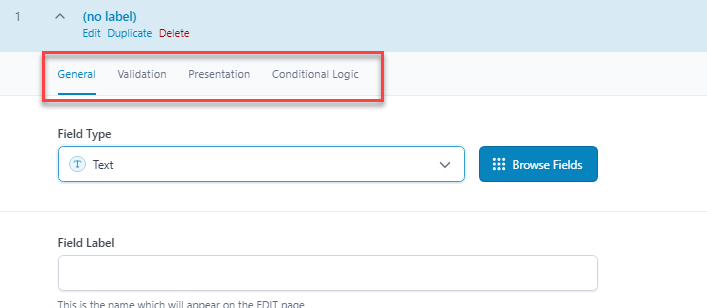
- General
- Validation
- Presentation
- Conditional logic
From the general settings, you can get most of the configuration options. From there, you can choose the
- Field type
- Label
- Name
- Value
And so on.
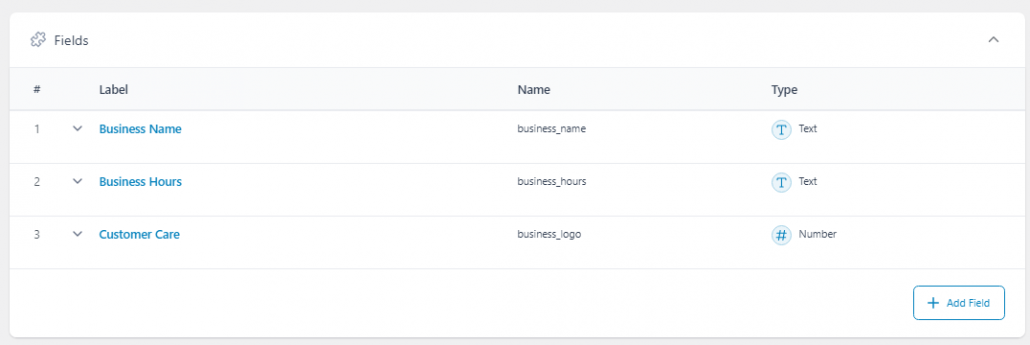
Here, we will add two text fields and 1 number field to the group. After modification, it will look like this:
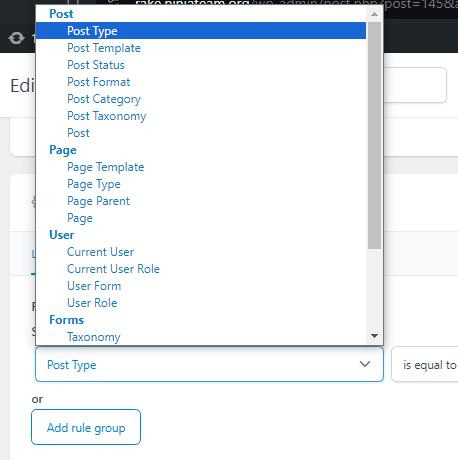
Next, you need to adjust the settings. Here, you can choose where you need to display this ACF group.
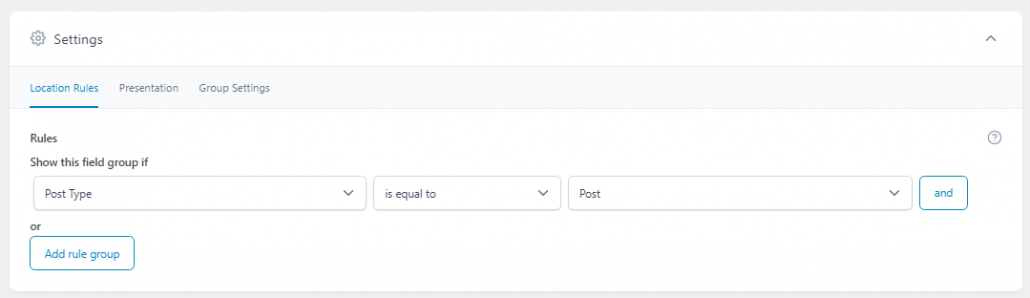
In this case, we will display it under the WordPress posts. However, you can always choose a different condition according to your preferences.
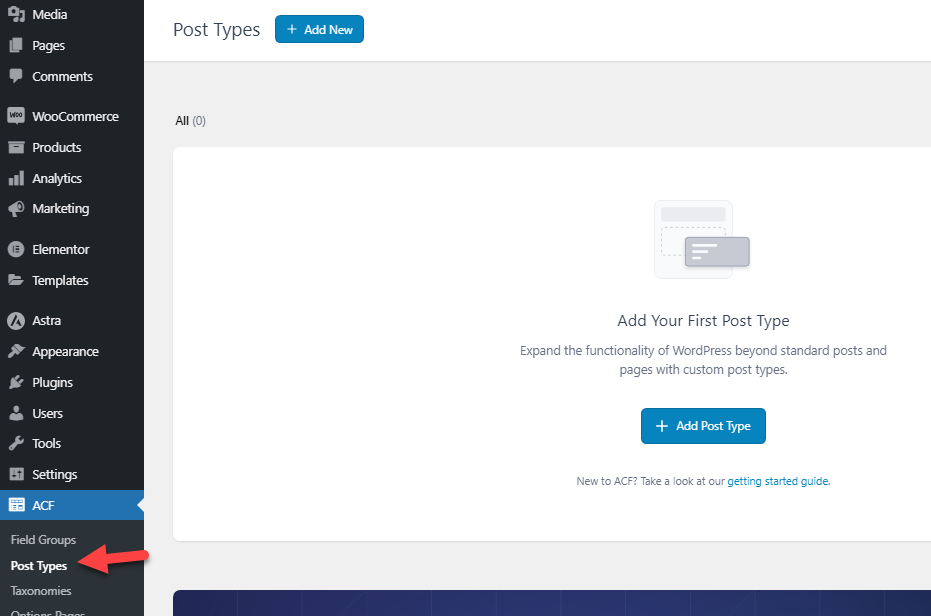
Once you are done, save the settings. You can also add custom post types to your website via ACF.
Now, go to the Gutenberg editor and see the custom field group you added under the editor.
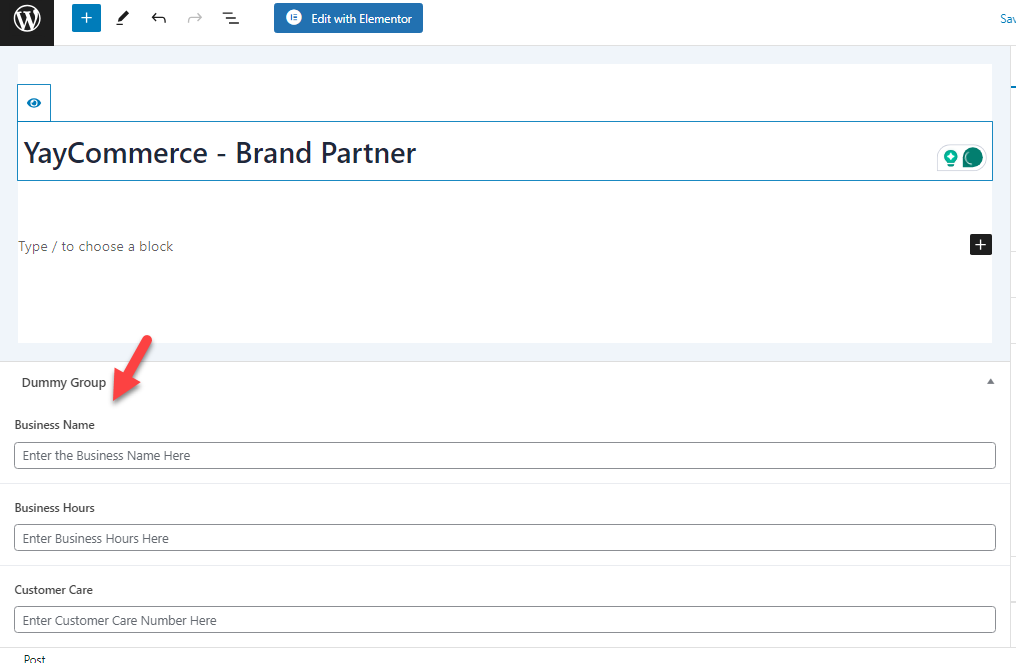
Fill in the details as you like. In this case, we created this ACF group to mention all our brand partners so we can fill them in accordingly.
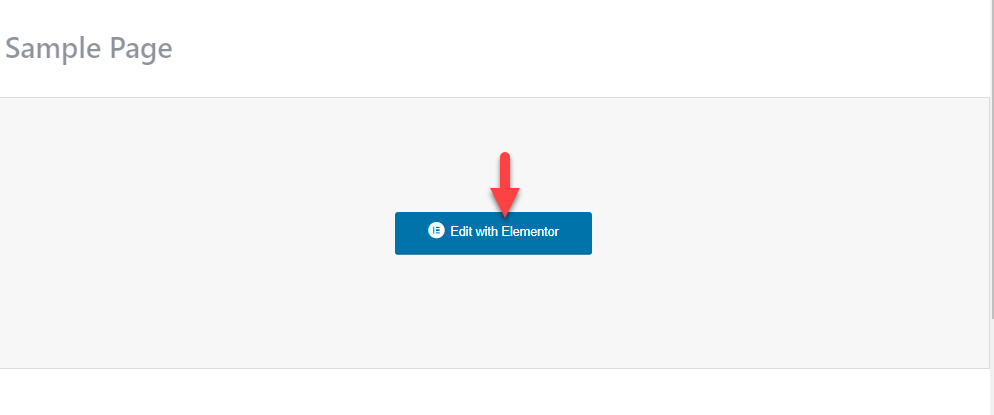
Using Elementor Page Builder
After completing this, you need to go to the page where you need to display these data. Since we will not use Gutenberg, we will use Elementor for editing.
You will see the full-screen editor once you have opened the Elementor editor. The right side will show you the live preview. The left-hand side will show you the fields.
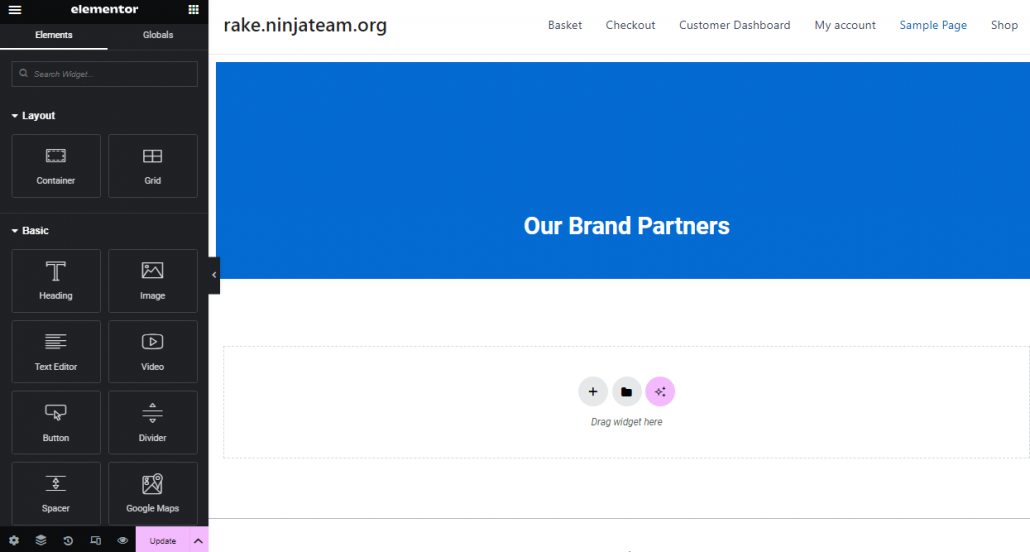
The first thing you need to do is add a container. You can do this by dragging and dropping a container block inside the widget area.

Once you have added a container block, you can add elements. In this case, we are going to add a heading component.

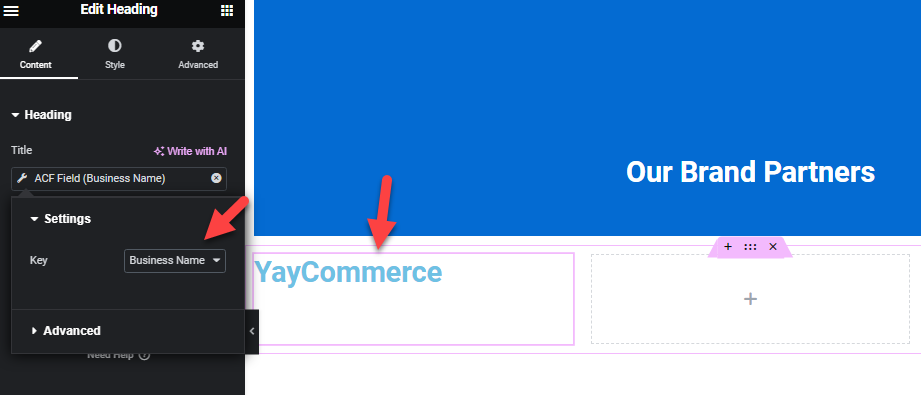
After adding the heading, click on the element. This will help you open the heading options.
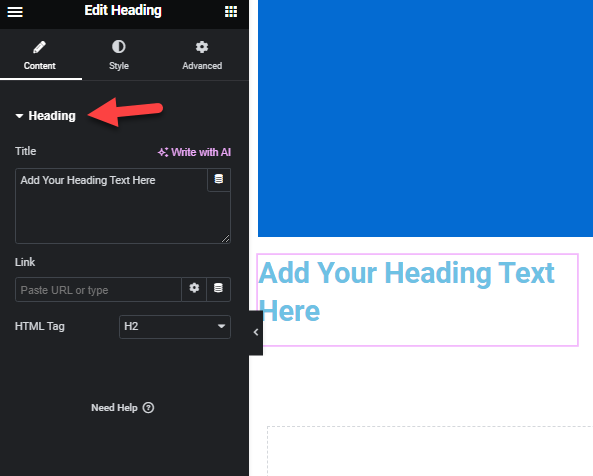
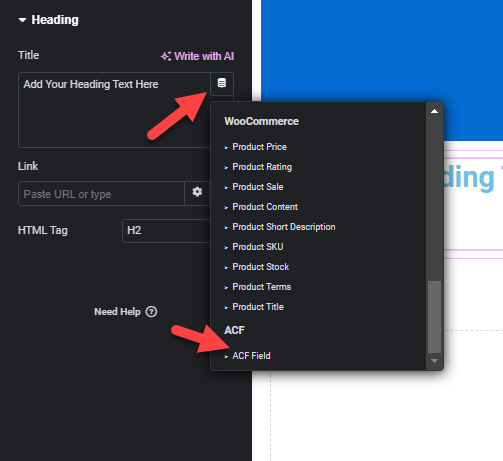
Click on the dynamic button to add the ACF value to the field. From there, choose the ACF field.
Now, under the ACF settings, you can see an option called Key. From that dropdown, choose the ACF value you need to display.
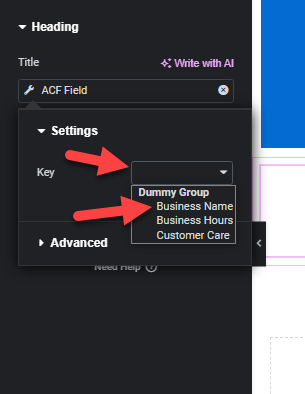
In this case, we will choose the Business Name ACF value. The value will be visible on the front end of the website within a short time.
That’s it!
Changing the Field Type
If you check the field type dropdown, you can see multiple options.
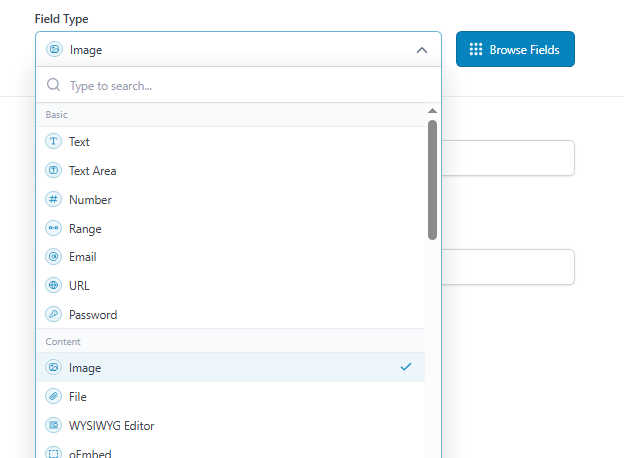
Some of the popular ones are:
- Basic
- Text
- Text area
- Number
- Range
- URL
- Password
- Content
- Image
- File
- WYSIWYG editor
- oEmbed
- Gallery (PRO)
- Choice
- Select
- Checkbox
- Radio button
- Button group
- True/ false
- Relational
- Link
- Post object
- Page link
- Relationship
- Taxonomy
- User
And so on. You can pick an option based on your preferences. For example, here, we will select the image type. Now, open the post editor and select the image there.

Now, open the Elementor editor, and add an image field. Next, choose the dynamic tag option.
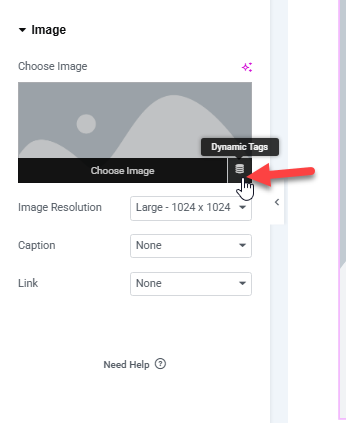
Select the ACF image field and the group.

On the next page load, you can see that the image is added directly.

This is how you can use Advanced Custom Fields with Elementor. You can create as many fields as you need and display the values on any Elementor page. The best thing about using ACF with elementor is that you do not need to edit the Elementor page when changing the values.
You can complete the update by modifying the ACF value in the Gutenberg editor.
Frequently Asked Questions
Now, let’s see some of the frequently asked questions.
To use Advanced Custom Fields with Elementor, you must first create custom fields using the ACF plugin. Then, you can dynamically display those fields inside Elementor using the Dynamic Tags feature. This allows you to create flexible and personalized layouts effortlessly.
Yes, you can easily display an ACF URL field in Elementor. When editing with Elementor, select the widget where you want to show the URL, click the Dynamic Tags icon, and choose the appropriate ACF field to pull in the URL dynamically.
Elementor ACF fields allow you to pull custom data created with Advanced Custom Fields directly into your Elementor-designed pages. This is great for displaying things like custom text, URLs, images, or any other field types on posts, pages, or templates.
Yes, connecting Advanced Custom Fields to Elementor is straightforward. Once ACF fields are created and assigned to a post type, you can insert them into your Elementor layout using the built-in Dynamic Tags or using the “ACF Field” widget if your theme or plugin supports it.
Elementor custom fields let you integrate ACF values into your designs without code. You can map ACF fields to specific sections or widgets in Elementor, enabling you to build custom layouts powered by dynamic content.
Yes, Elementor with Advanced Custom Fields Pro gives you even more flexibility. Features like repeaters and flexible content fields can also be integrated into your Elementor pages, making your designs even more dynamic and powerful.
Most core Elementor widgets support ACF field Elementor integration through Dynamic Tags. Text widgets, image widgets, buttons, and even headings can be linked to ACF fields for custom, dynamic content.
Conclusion
ACF is a useful WordPress plugin with more than 2 million active users. Elementor is a handy WordPress page builder plugin with over five million active installations. Combining these tools is helpful if you need to create something unique.
This article shows you how to use these tools properly to create stunning website designs. You do not need to deal with coding when integrating ACF with Elementor.
You can quickly transform your ideas in mind with this integration.
Would you use ACF with Elementor?
Let us know in the comments!