Do you want to edit the WooCommerce product page with Elementor free? If you need a definitive guide, keep reading this article. Here is the step-by-step guide to editing your WooCommerce archive page properly.
While WooCommerce is an easy way to build online stores, the site’s design depends on your active theme. Some people will use dedicated WooCommerce themes on their site, while others rely on a page builder plugin.
A page builder plugin can help you create stunning WooCommerce store designs without hassle.
But first, let’s see what Elementor is and why you should use it.
What Is Elementor and Why Use It

If you have been in the blogging and WordPress industry for a while, you know about Elementor. It is one of the best WordPress page builder plugins you can use to create stunning landing pages without any hassle.
It is a freemium plugin, meaning the free version will give you limited access to its unique features, and the premium version will unlock the full potential of the plugin. When you are a beginner or need to experience what Elementor offers, the lite version will do the job.
On the other hand, if you need to create unique page designs without any restrictions, go for the premium version. Some of the special features of the Elementor plugin are:
- Drag and drop page editing
- Works with any theme
- Compatible with third-party plugins
- Page speed optimization
- Optimized for WooCommerce
- Header and footer customization
- Custom pop-ups
- Highly flexible
Now you know what Elementor is and why you should use it. Next, let’s see how to edit the WooCommerce product page with the free Elementor version.
How to Edit WooCommerce Product Page with Elementor Free
The first thing you need to figure out is the Elementor compatibility of your WooCommerce theme. There are so many highly customizable WooCommerce themes available. Some of the popular ones are:
- Blocksy
- Astra
- GeneratePress
- Neve
- OceanWP
- Divi
- Hestia pro
And so on.
For this tutorial, we will use the Astra theme. It is one of the finest WooCommerce themes to run the perfect online store. Here are the main steps you should take:
- Install and activate Elementor
- Configure it
- Customize the product page
- Publish the changes
Let’s take a look at the steps a little deeper.
1. Install and Activate Elementor
The first thing you should do is install and activate Elementor lite on your WooCommerce store. If you already use the plugin on your website, you can skip this step and move to the next one.
You can install the plugin directly via the WordPress plugin repository.
Once you have completed the activation, there are some things you should do before using the Elenmentor plugin to create pages.
2. Configuring Elementor
The setup process is simple. Right after the activation, you will see a setup wizard. You can go through it and set up the basic options.
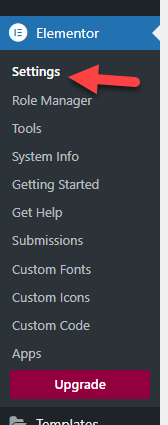
Next, go to the Elementor settings. You can see it on the left-hand side of the page.
You can enter the API key to embed Google Maps on your website.

Similarly, you can also go to the features section to see the options to optimize the performance of Elementor.
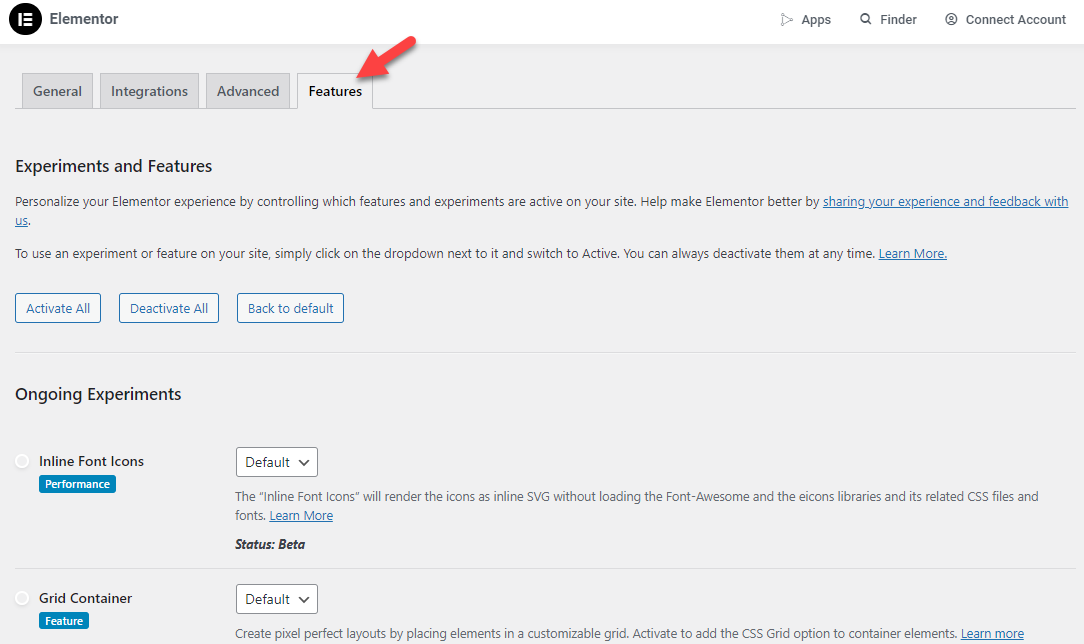
Configuring these right after the activation will help you optimize the performance of your website. Once you have completed the configuration, we can edit the WooCommerce product page.
3. Customize the Product Page
Now, you need to go to the product you need to customize. On the top side, you will see an edit product button.
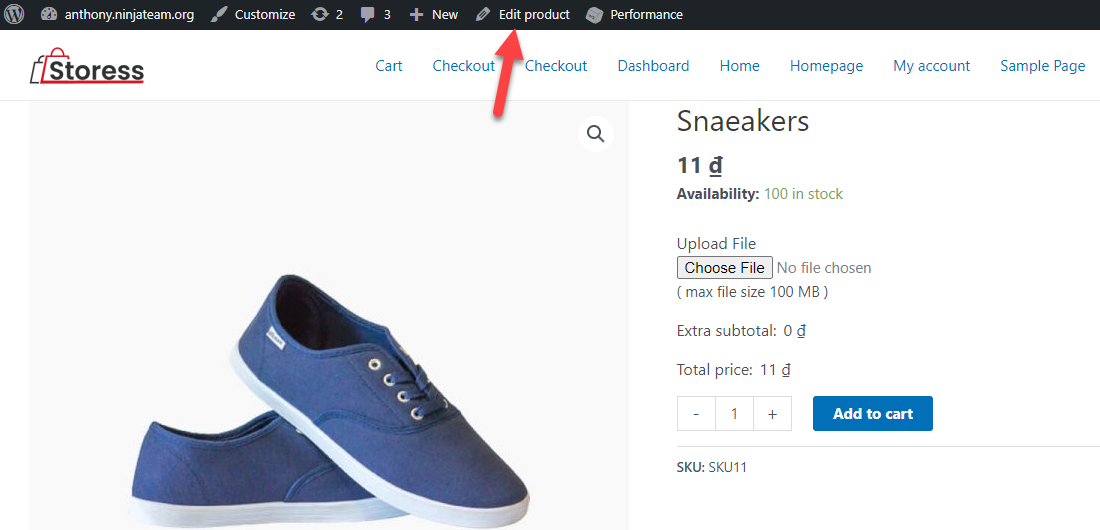
You need to click on the button. On the next page, you will have the option to edit the page with the Elementor plugin.
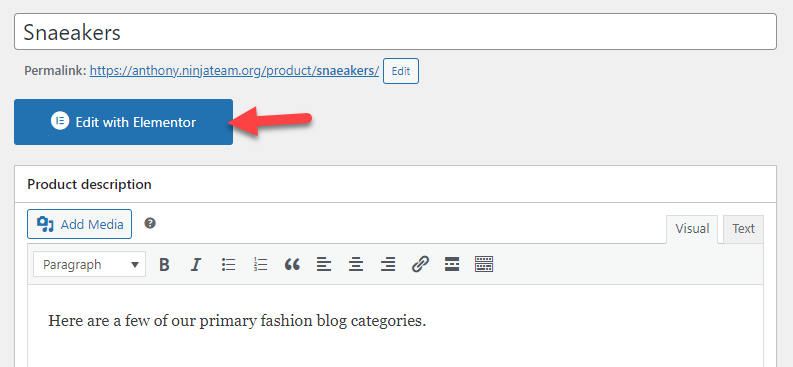
Soon, you will be redirected to the Elementor editor page.
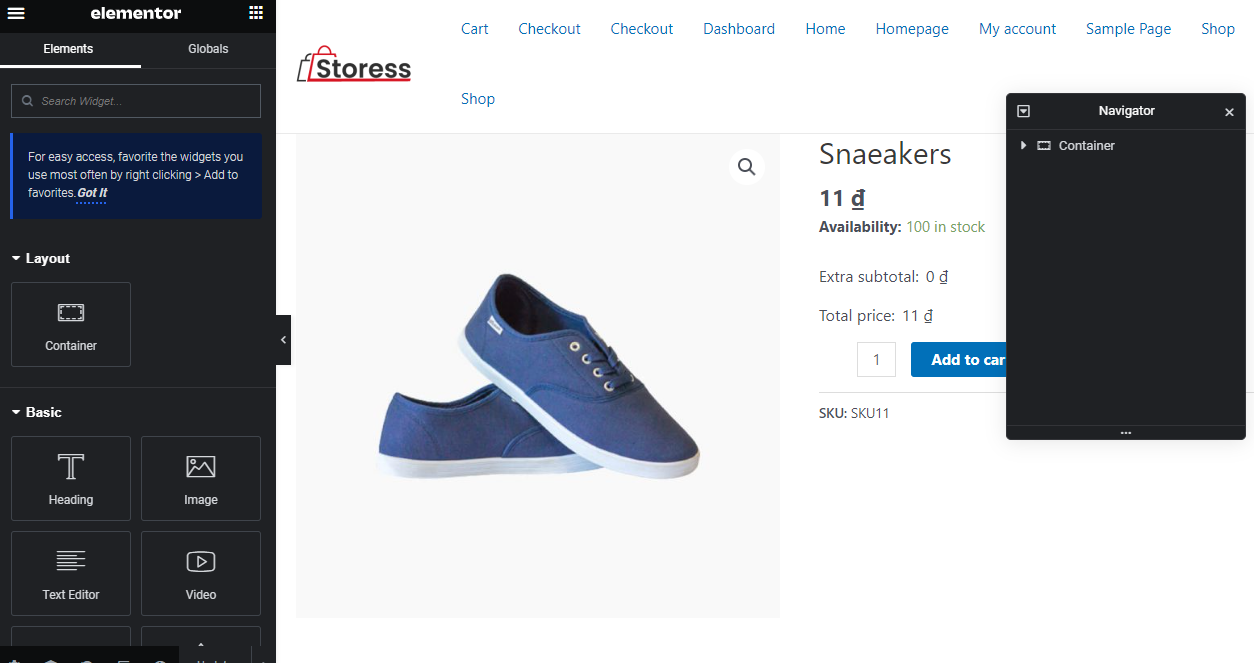
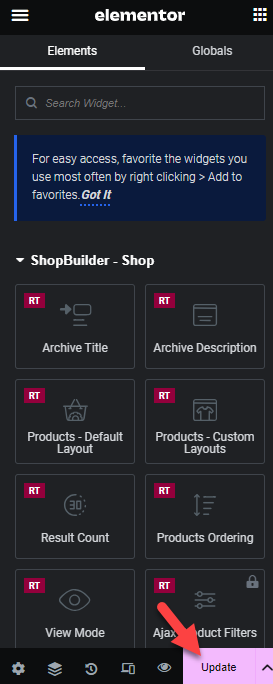
On the left-hand side, you can see all the elements you can add to the page. The right-hand side will show you the live preview of the page.
Since this is a free version plugin, the available options are limited. You should choose the premium version tool if you need more powerful fields. Pick one option from the side and drop it inside the container to add a new field.
In this case, we have added a new heading to the page.
This way, you can add custom files to the pages and make them unique. You can create stunning product pages without coding by spending 10-20 minutes with it. Since all your changes will be deployed to a single product, you can ensure that other product pages won’t be affected.
This way, you can add unique content to every shop page to attract more users and boost conversion rates.
That’s it! This is how you can create a custom product page with Elementor lite.
4. Publish Every Change
Once you are done, you can publish the changes. That’s it!
This is how you can edit the WooCommerce product page with Elementor.
Bonus: How to Create Custom Shop Archive Pages without a Hassle
Modifying the shop archive page can be challenging if you need to improve your website design. If you need a hand with the process, look at the ShopBuilder plugin. It comes with pre-made templates on your cart/shop or product pages.
This section will show you how to use the plugin to import a custom Elementor page without hassle.
Go to the settings page once you have installed and activated the ShopBuilder plugin.
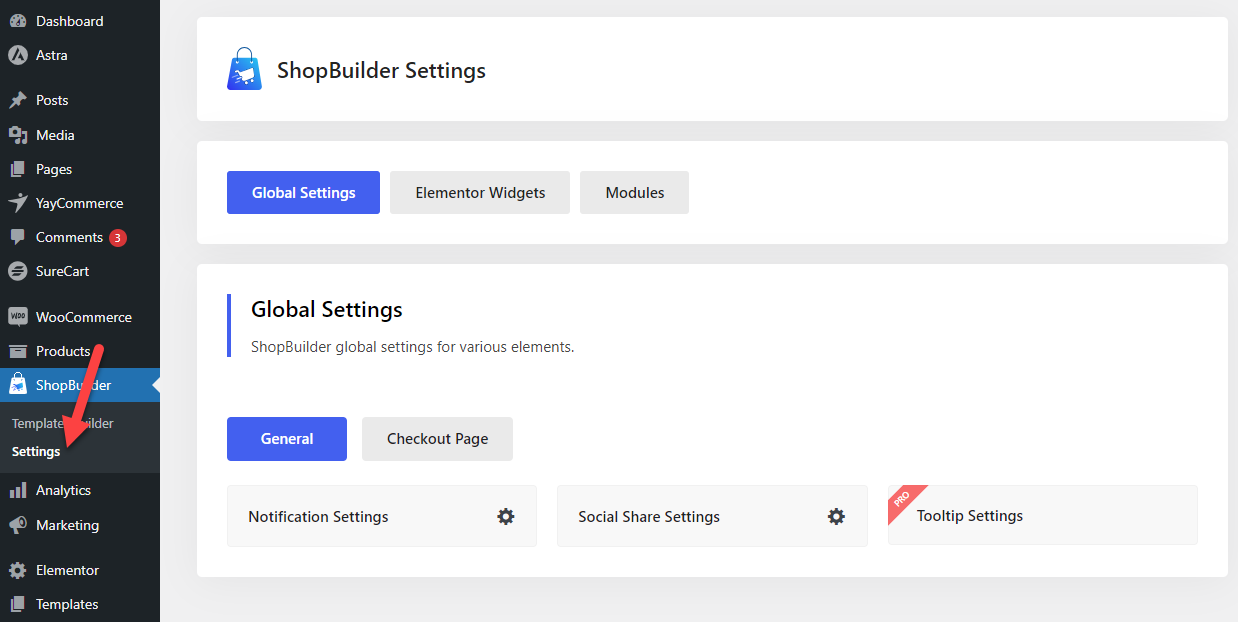
From there, you can customize how the plugin needs to work. Now, go to the WooCommerce template builder and create a new one.
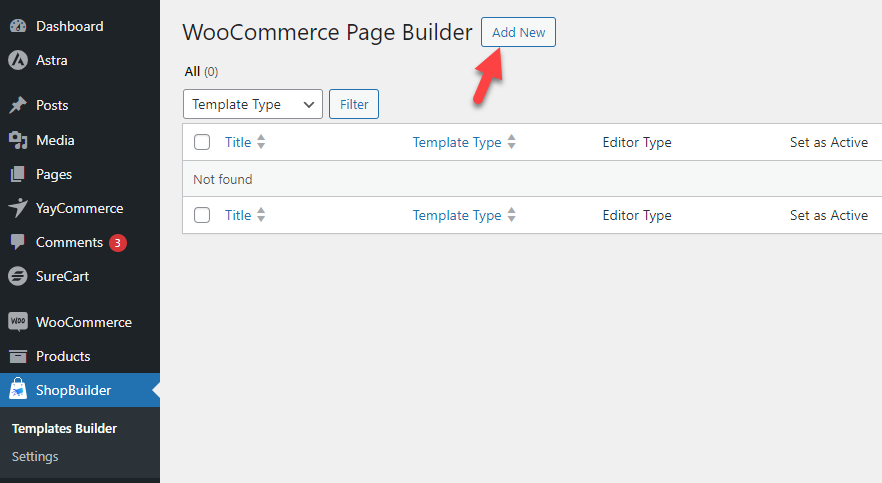
You need to choose a template’s
- Name
- Type
- Editor type

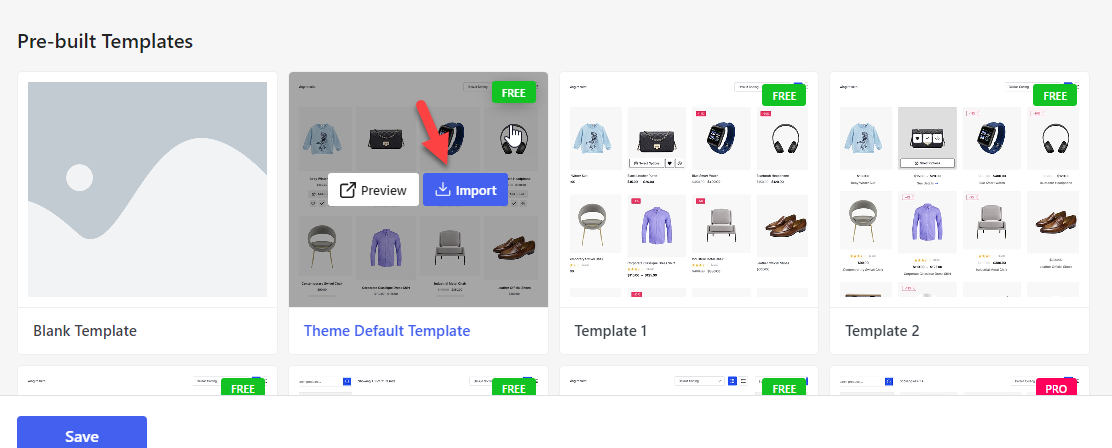
Once that’s done, you need to scroll down. There, you will see several pre-made templates.

Some templates are free, while others are [premium. Since we use the free version of the plugin, we can only select the free templates. Pick a template according to your liking. You can either preview the template or import it.
If you need to customize the template, you can use the Elementor plugin. After that, publish the changes.
That’s it. This way, you can use the ShopBuilder plugin to enhance the WooCommerce store’s design.
Conclusion
A unique product page will help you tell more about the product the customer is viewing. By default, the WooCommerce plugin comes with limited features. With a plugin like Elementor, you can change it.
As you can see in this tutorial, you can modify the product page according to your liking with Elementor. The free version of Elementor comes with limited features and fields. But for beginners, it is a feasible option.
Similarly, you can also edit the product page with a plugin like ShopBuilder. ShopBuilder comes with pre-made templates, so you have minimal customizations to do.
How are you planning on editing your product page?
Let us know in the comments.