Are you ready to unlock the secret to boosting your conversion rates? This article delves into the world of return customer discounts, revealing the types, strategies, and best practices that can transform your online business. So, if you’re eager to see your sales soar, keep reading!
When managing a WooCommerce store, you must focus on customer satisfaction and user experience to achieve a maximum conversion rate. People visit your website because they are interested in your products.
But is there any way to use return customer discounts best?
If you need to make more money from the people who have purchased products or services from your website, keep reading this article. We will show you the best methods for return customer discounts!
Here’s how to use return customer discounts for the best conversion rates.
The Definitive Guide to Return Customer Discounts
To make the most out of return customer discounts, use these strategies:
- Create custom coupon codes
- Modify the WooCommerce email templates
- Set a discount on the coupon code
- Offer custom gifts with the second order
- Offer free shipping for the second order
And so on.
Below, we will show you all these methods and how you can achieve them.
1. Create Custom Coupon Codes
The first thing you need to do is create coupon codes for your return customers. Creating coupon codes in WooCommerce is simple; you need not be tech-savvy.
Go to the Marketing tab once logged into the WooCommerce store’s backend. The coupons section will be there.
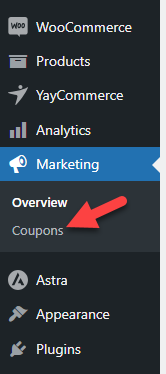
From there, you can create new coupon codes for your online shop.
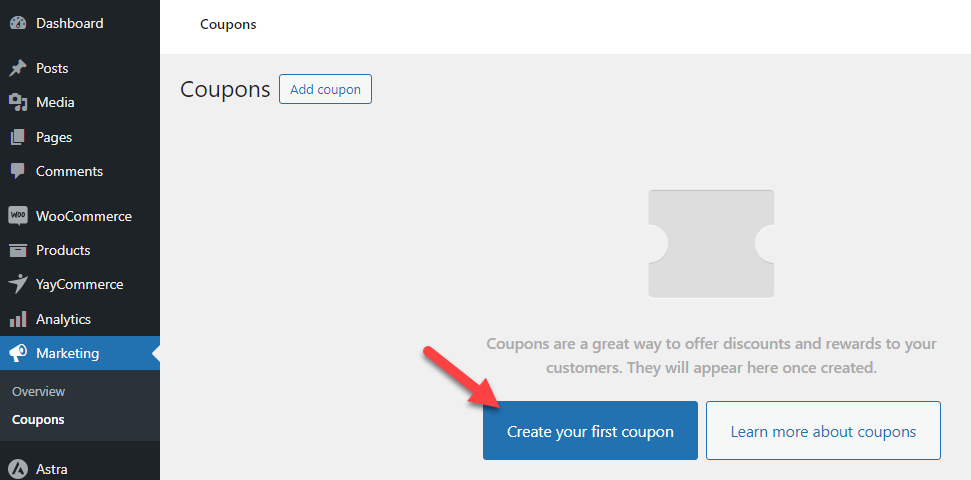
You can enter a custom coupon code or randomly generate one.
In this case, we will set the coupon code as WELCOMEBACK.

You do not need to go through the coupon data options. We will customize the coupon code later via a dedicated plugin called YayPricing.
In the next step, we will show you how to modify the WooCommerce email templates and let the customers know about the coupon code.
2. Modify WooCommerce Email Templates
Now that you have successfully created a coupon code, you must let everyone know you have one that will benefit existing customers.
Promoting the coupon code is best done via the WooCommerce email templates. However, the templates cannot be tweaked by default.
For this task, you need to use a tool called YayMail. It is a freemium plugin, and the lite version plugin can be downloaded from the WordPress plugins repository. The lite version has limited features, and the premium version will unlock more potential options.
For this tutorial, we will be using the premium version of YayMail.
Once you have installed and activated the YayMail plugin, you can see the plugin’s settings on the left-hand side of the dashboard.
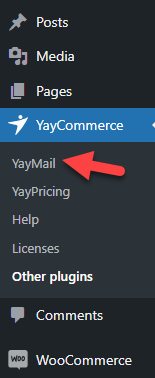
Once you have clicked the YayMail option, you will be redirected to the email builder.
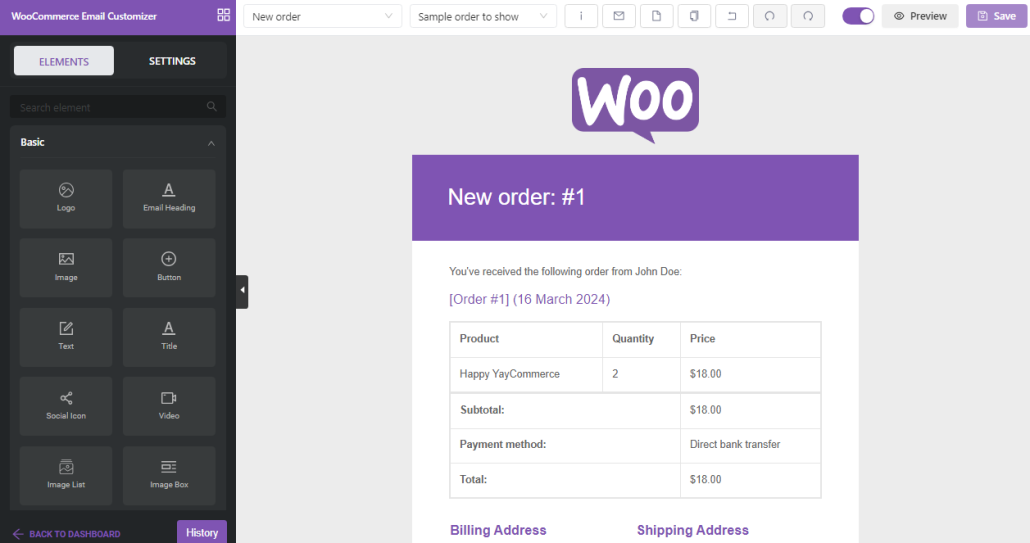
You can use the dropdown to change the email template.
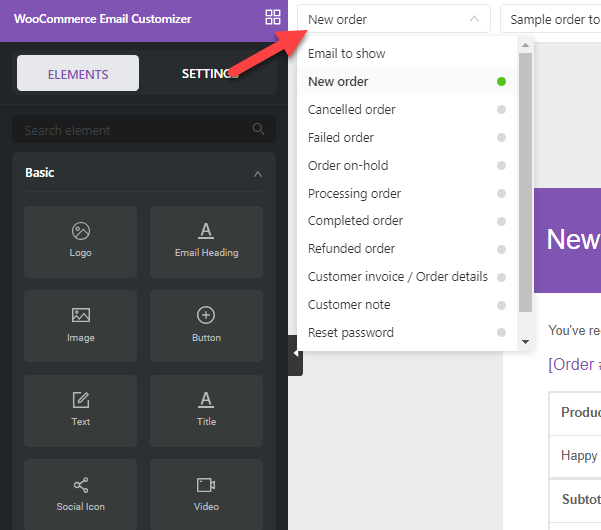
We recommend modifying the completed order template.

This guide does not discuss customizing the email template in depth. However, if you want a step-by-step guide to tweaking the template, check out this guide.
If you check the left-hand side of the editor, you can see a text block.
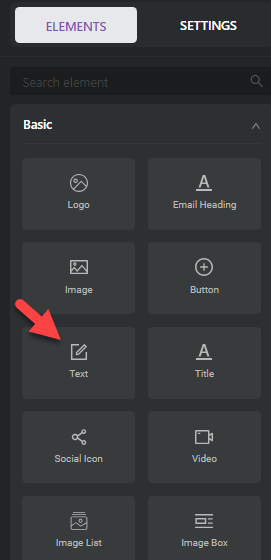
You need to drag and text block and drop it inside the editor.
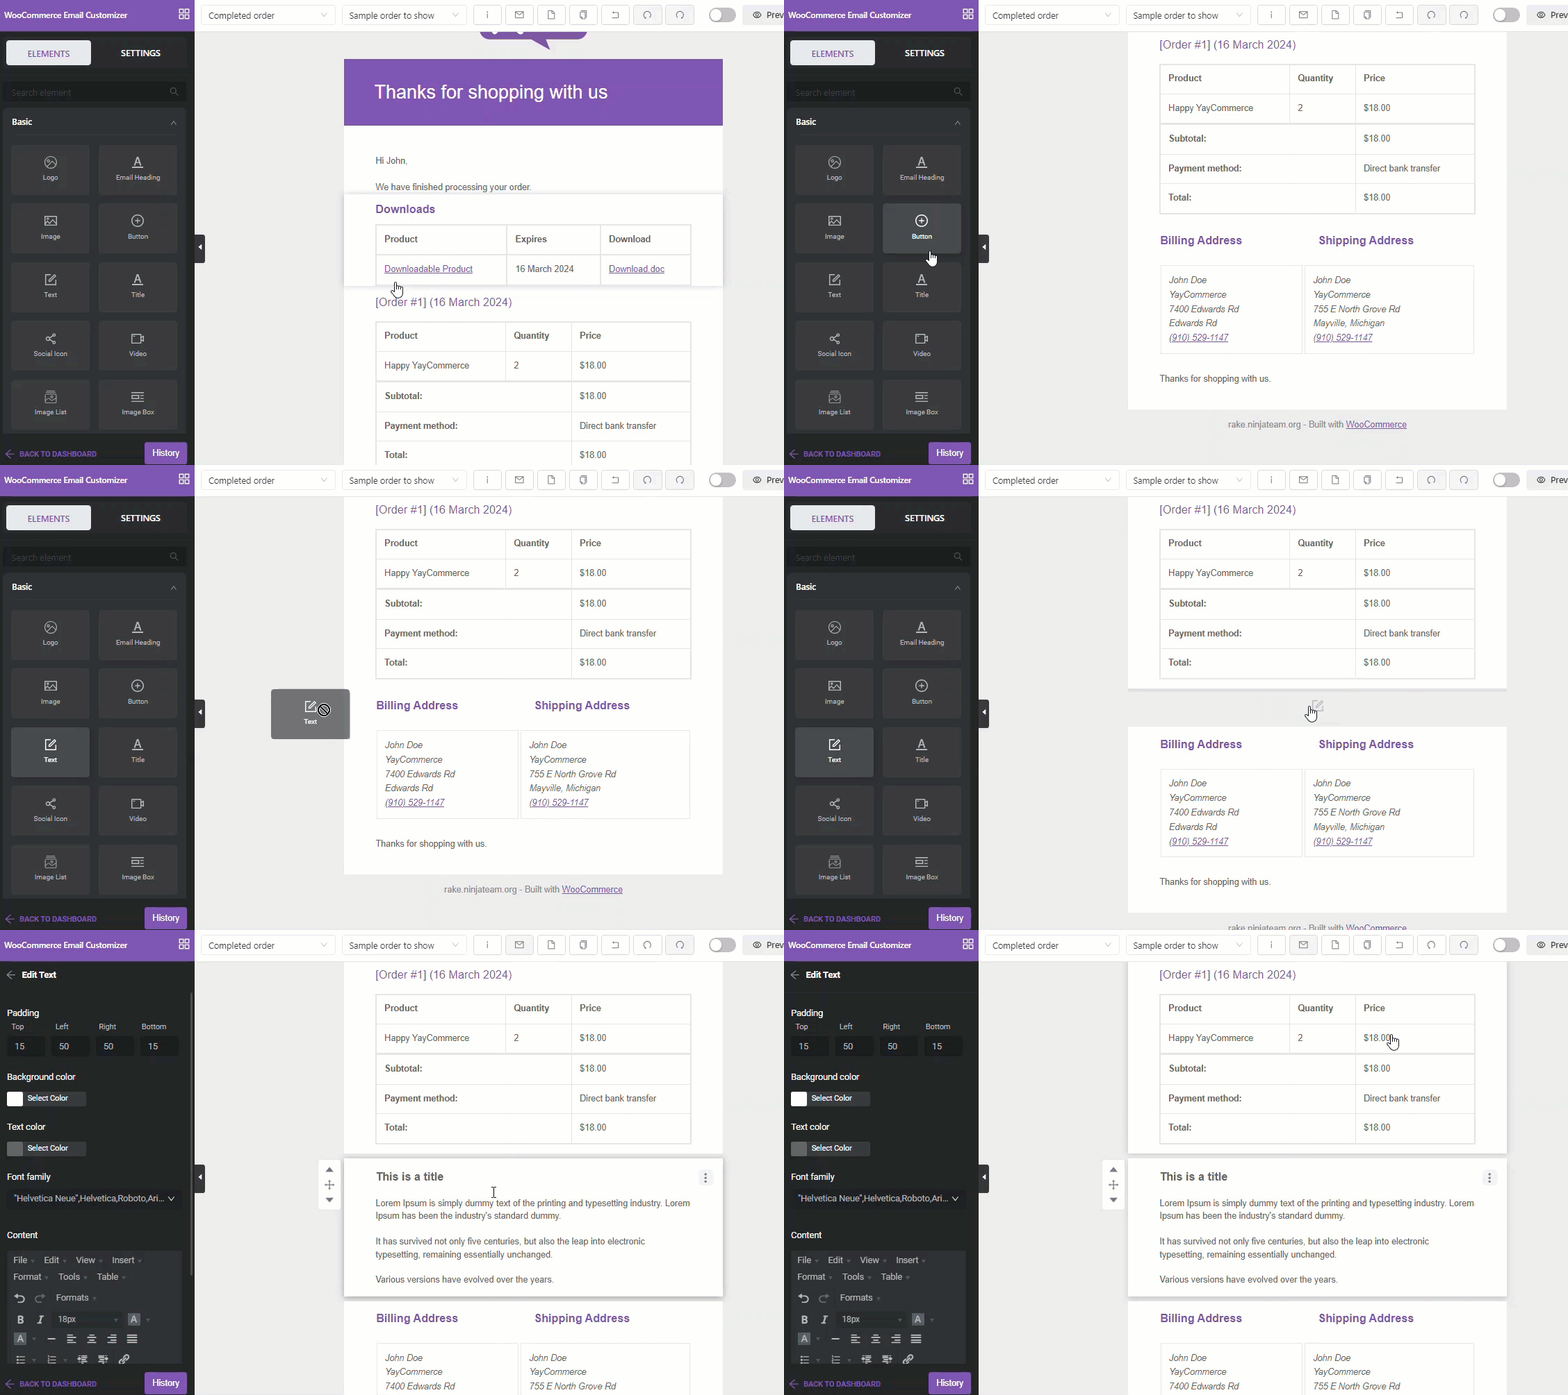
Once you have added the block, click on it. On the left-hand side, you will see the block customization options.
We modified the text block and added the coupon code in this case.
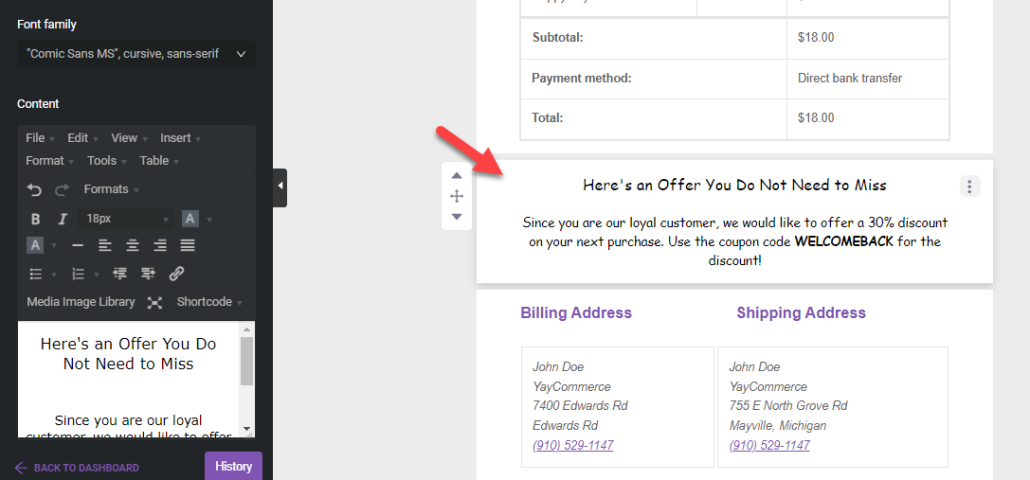
After all the modifications, save and enable the template.
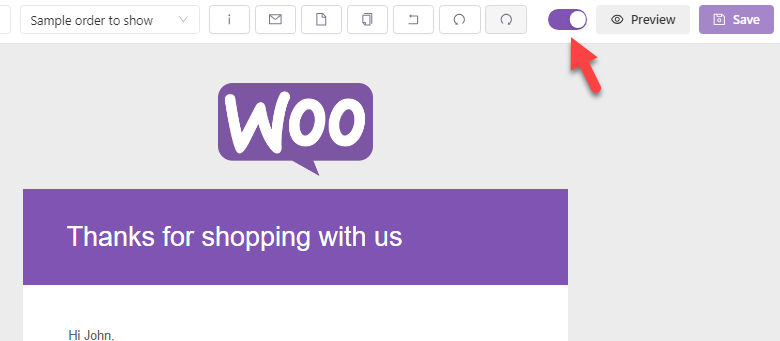
That’s it!
From now on, when WooCommerce sends out order-completed emails to the customers, the coupon code will be delivered.
3. Set a Discount for the Coupon Code
You can customize the coupon discount via the WooCommerce coupon settings. But those options are minimal. If you need to take complete control of the coupon code, use YayPricing.
Here’s how we can customize the return customer discounts. The first thing you need to do is install and activate the YayPricing plugin.
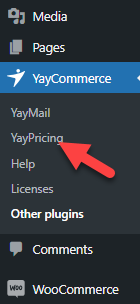
After activation, you can see the plugin’s settings under the YayCommerce menu.
Once you have opened the YayPricing settings, you will see three options.
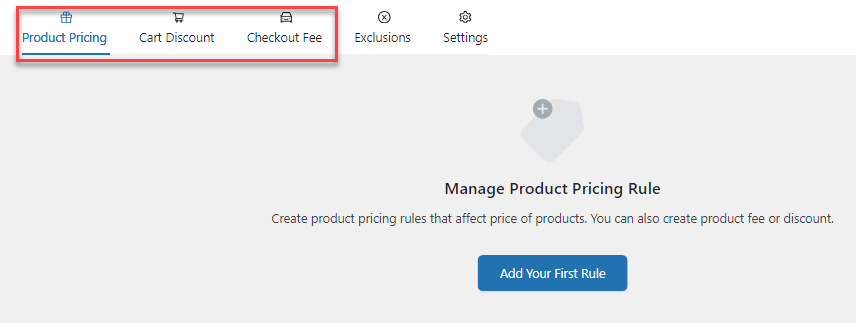
- Product Pricing
- Cart Discount
- Checkout Fees
You need to choose Cart Discount from this list and add a rule.
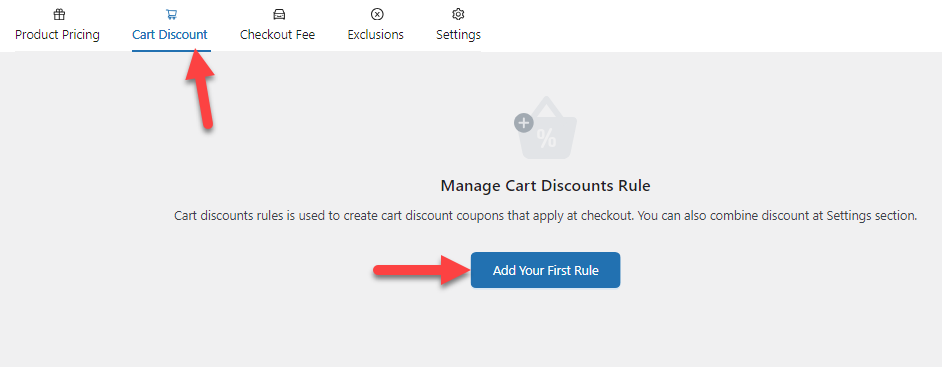
From the pre-made campaigns, choose the one you prefer.
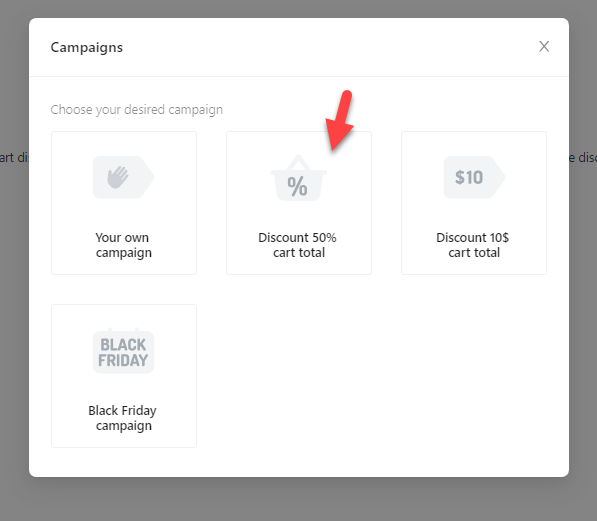
Now, you can configure the campaign name and the discount you would like to give the customer.
In this case, we will give the customer a 30% discount on their purchase with a maximum limit of $50.
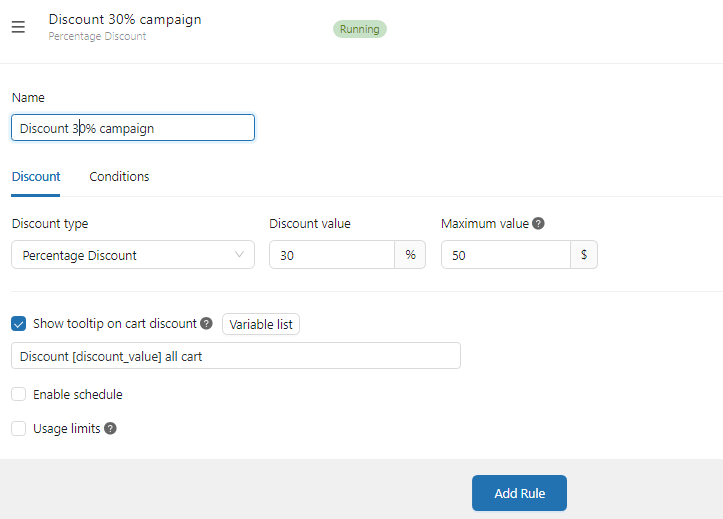
You can enable the usage limits to prevent customers from using the coupon multiple times.
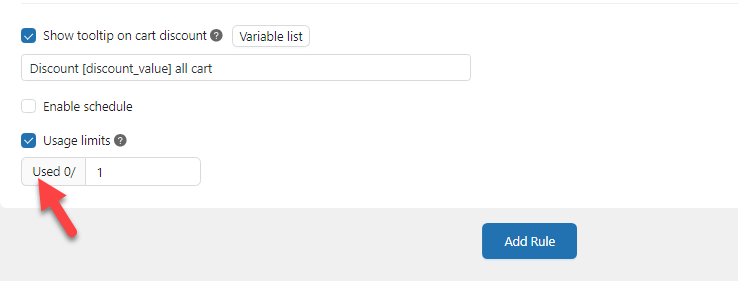
When you set the usage limit to 1, the coupon can only be used once per customer. The next thing you need to do is configure the conditions.
Right now, anyone can enter the coupon code and get a 30% discount on their purchase. However, you must add conditions to the campaign to prevent the coupon from being stolen and reserve it only for customers who bought from your store.
Adding Conditions
Go to the conditions section and add a new rule.
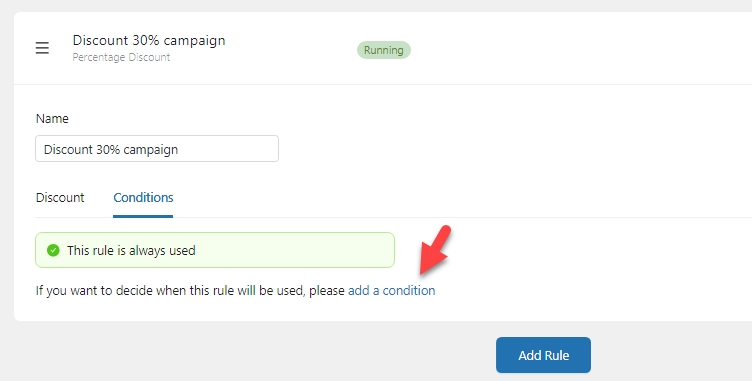
First, you need to mention what coupon code will give the discount.

Next, from the dropdown, you need to choose purchase history rules.
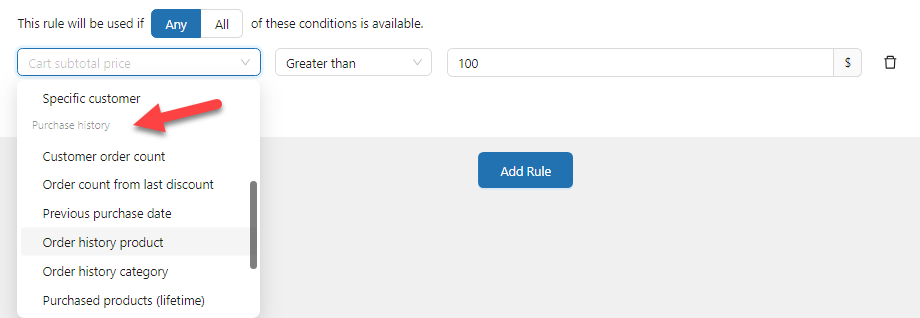
There are six rules available:
- Customer order count
- Order count from the last discount
- Previous purchase date
- Order history product
- Order history category
- Purchased products (Lifetime)
And so on.
You can select an option based on your preferences. Here, we will choose the customer order count, and the value will be one.

Once you are done with the configuration, save the settings. From now on, whenever a customer with more than one placed order applies the coupon code, they will get a 30% discount on the total cart value.
The following section will show you how to give a gift when someone applies the return customer coupon.
4. Offer Free Gifts For Second Order
To make customers happy, you can offer them gifts. You need to add a product pricing campaign to provide a product as a gift.
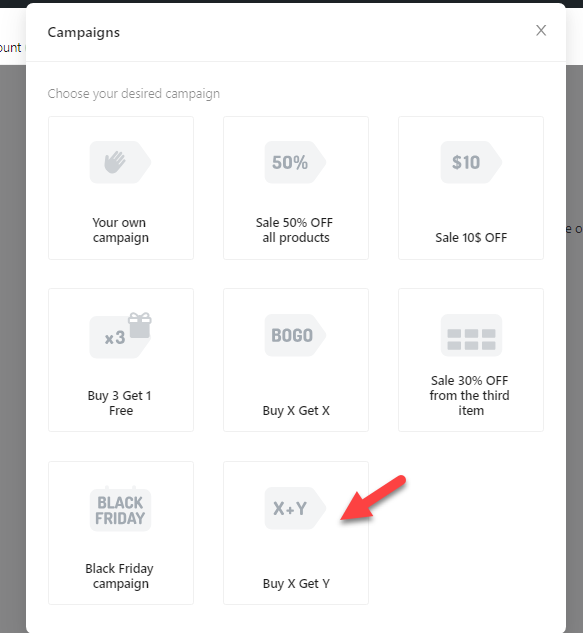
Configure the campaign as you like. As you can see in the screenshot below, in our case, when someone purchases any products from our store, they will get a free item.
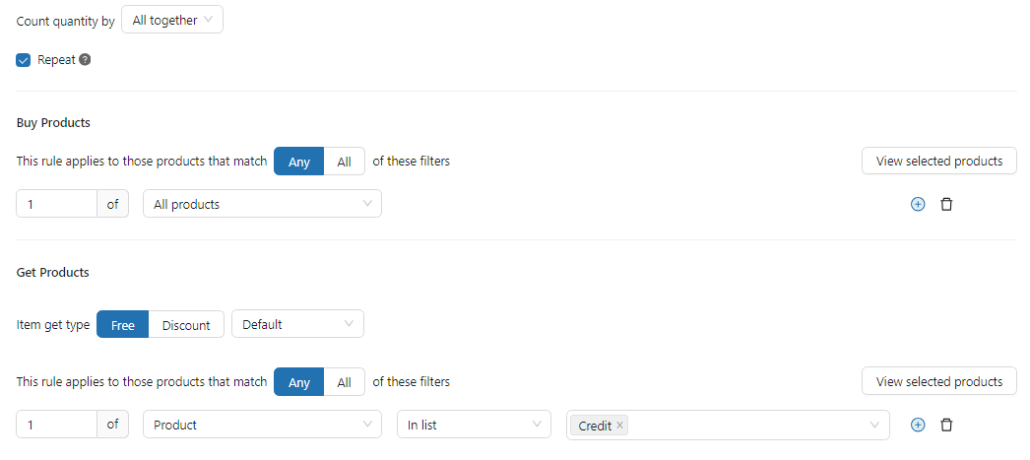
As always, we need to add conditions to the campaign. Here are the conditions we are going to use:

That’s it!
Save the configuration once you are done with the campaign. In the next section, we will show you how to offer free shipping for returning customers.
5. Offer Free Shipping
Giving people free shipping is another good way to boost customer satisfaction and conversion rates. Everyone loves free shipping. You can offer free shipping when they apply the coupon code.
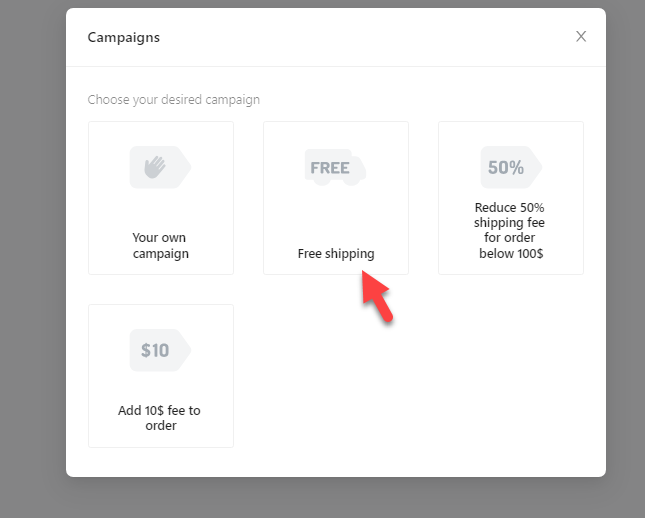
To give the user free shipping on the purchase, go to the Checkout Fee rule and choose the free shipping campaign.
The default configuration options are enough for a beginner.
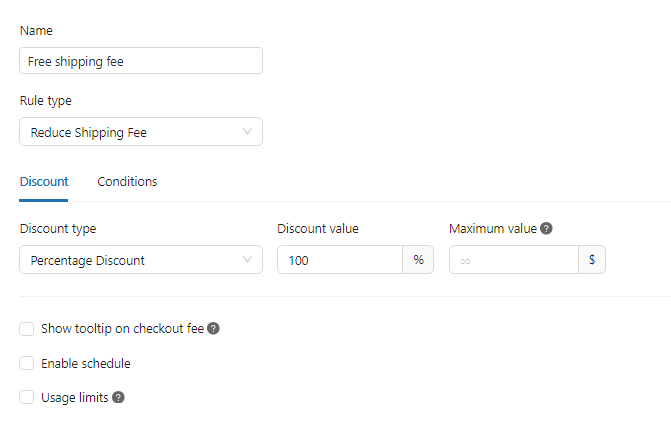
However, you must add two conditions to make it work with the coupon code. First, you need to add the applied coupon condition to the campaign.

Next, add the customer order count rule to the conditions.

Once you are done with the conditions, save the settings.
That’s it!
This way, when someone applies the coupon code, the free shipping campaign will be initiated, and the user won’t need to pay a single penny for shipping.
Conclusion
When you handle a customer-centric business like a WooCommerce store, you must optimize it for maximum conversions. People who purchase products from your online store are interested in the items/services you offer.
In addition to targeting new customers (which you should do), you must also focus on return customers. Offering a discount can significantly improve conversion rates.
As you can see in this article, we have shown multiple methods for returning customer discounts. First, you need to create a coupon code manually and promote it by editing the email template. You can also offer a gift when someone uses the coupon code while completing the purchase.
If you want more WooCommerce tips and tricks, check out our WooCommerce archive.
Now that you understand the power of return customer discounts, how will you implement them on your WooCommerce store?
We’d love to hear your ideas in the comments.
